
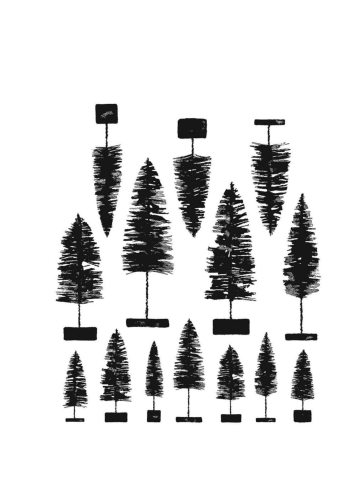
Hey everyone, welcome to our latest crafting tutorial on the Creative Escape blog! Today, we’re going to be showing you how to make a faux watercolor card using Karin brushmarkers, watercolor paper, a vaporizer, and stamp sets from Tim Holtz: Bottlebrush trees & Noteworthy. This technique works best on watercolor paper but you can also used it on mixed media tags.
To start, take an A2 piece of cardstock and trim it down to create a pink glittery border. Cut 2-3 watercolor paper panels at 4×5.25 inches.
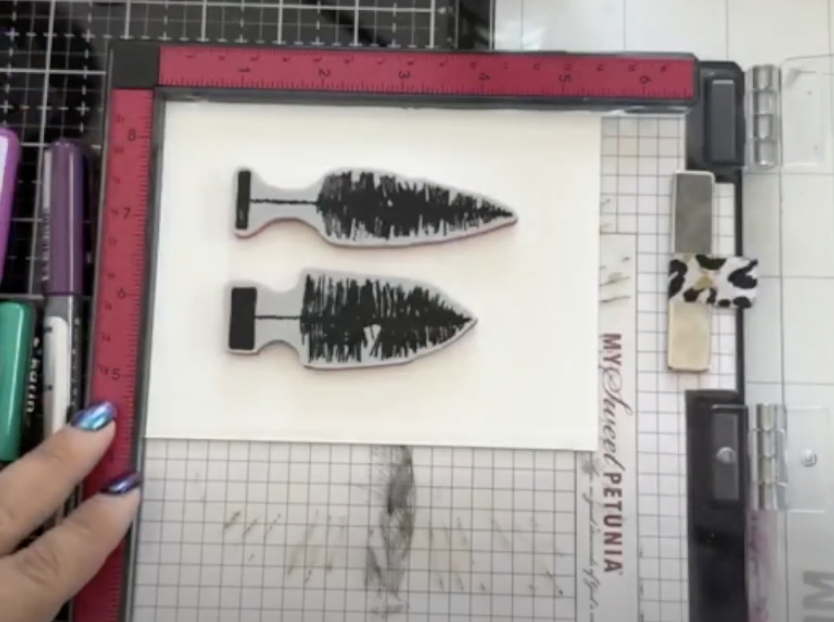
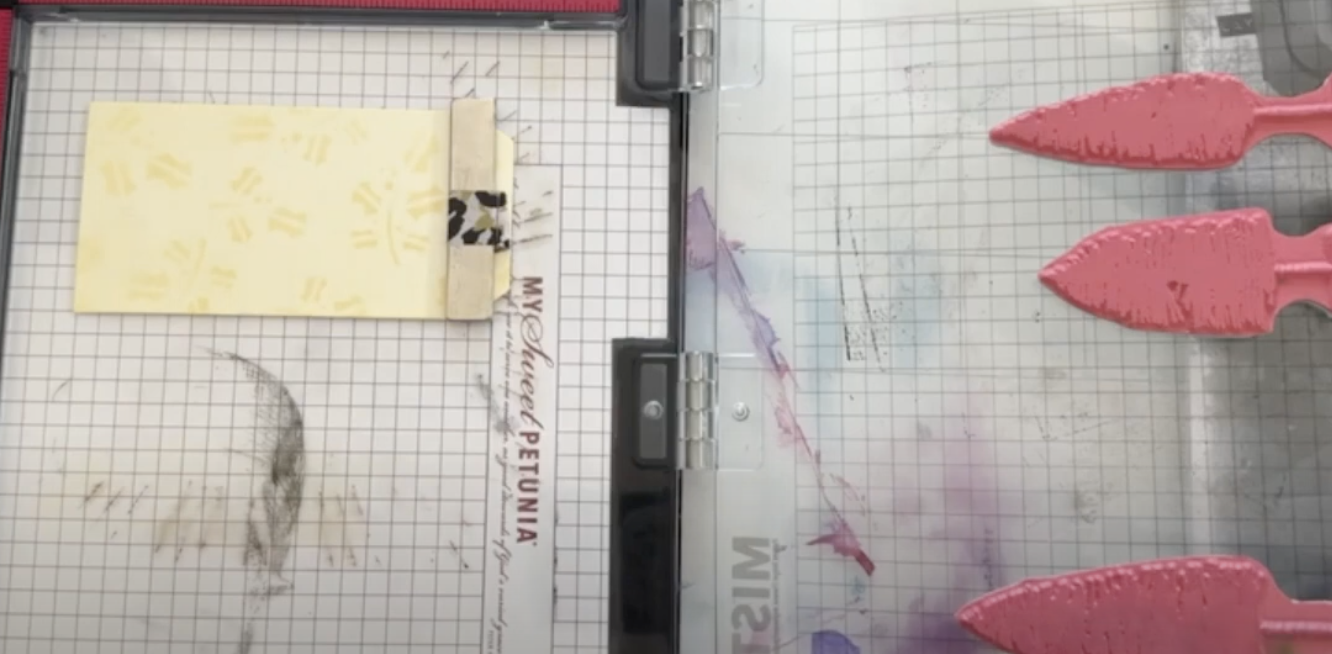
Now to set up your card for stamping using the MISTI stamping platform tool and line up your trees side by side. My goal was to like up the bottom of the trees but also leave a little space in between to stamp a third tree as the front focal point.
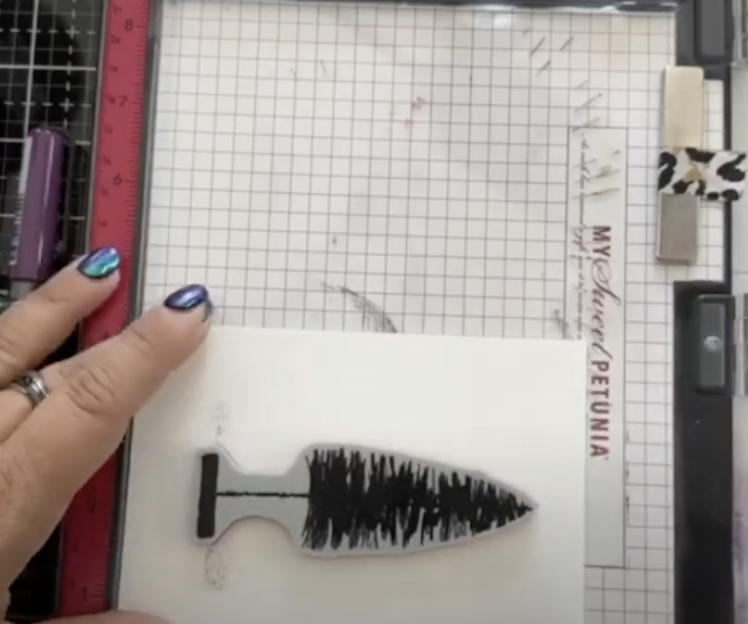
First start with two bottle brush trees and leave about a finger space in between. Lightly ink the bottom of the two trees on a scratch piece of paper. This is going to help us make sure the trees are lined up AND we are going to use it to place the third tree in the other side of the MISTI.
Align your first panel in the left corner of the stamping platform and the second pane in the opposite corner. This will help you be able to create an assembly line as well, if you choose to mass produce these trees.
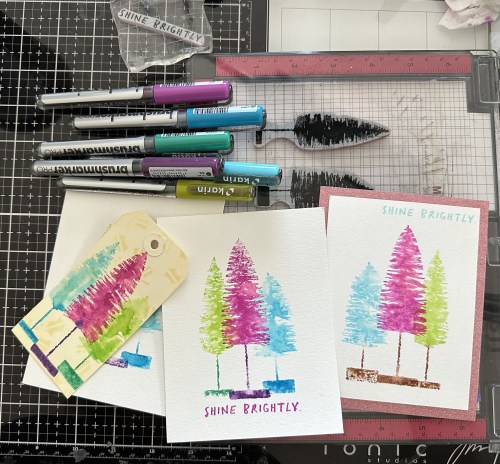
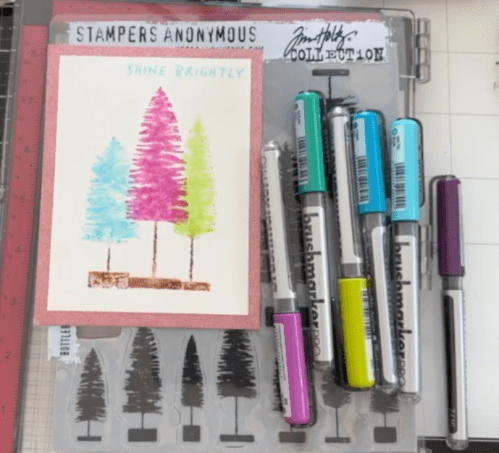
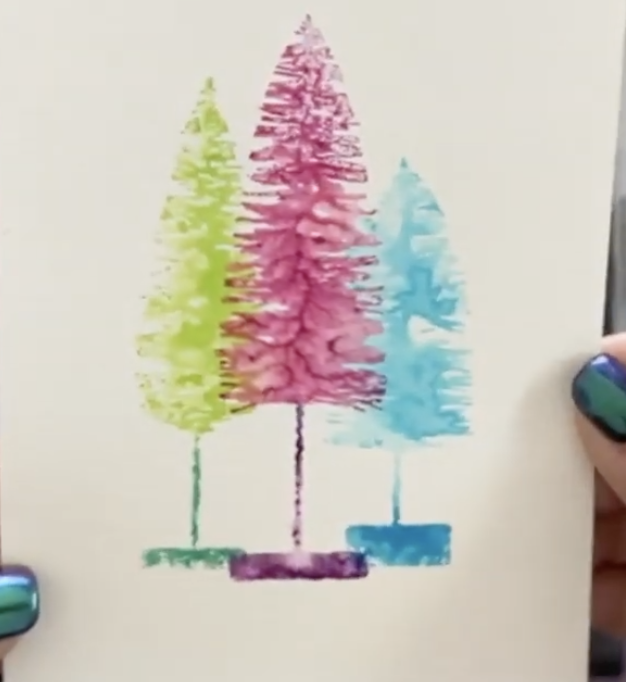
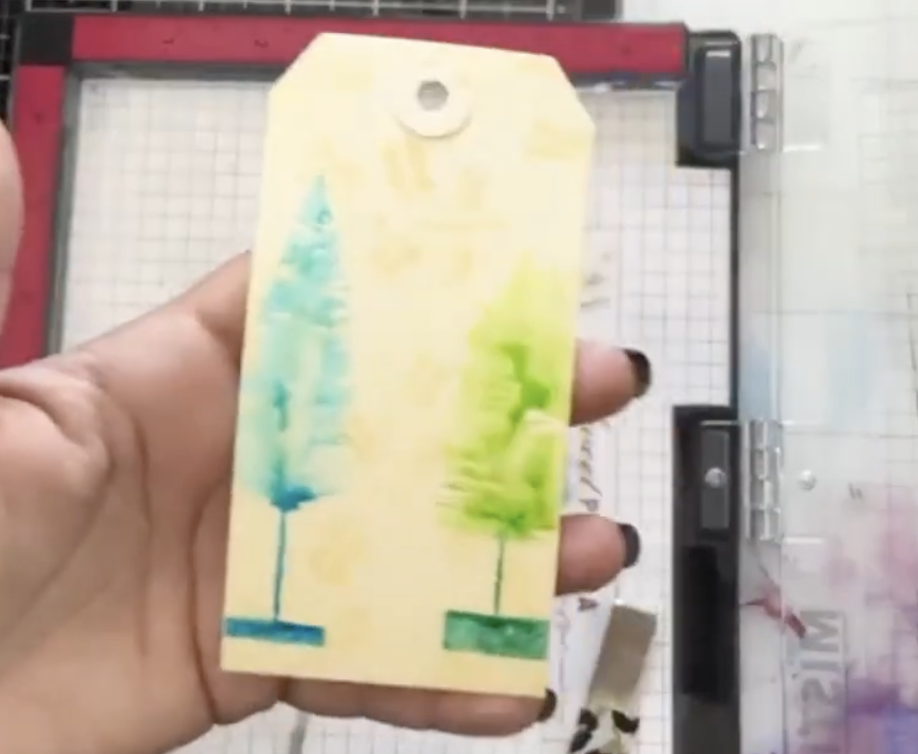
We’ll be using the following colors from the karin brushmaker pro line: lime green, ocean teal, arctic blue, cyan, red lilac and lilac. Next, using a watercolor marker and a misty tool, add water and blend the colors to give it that watercolor effect.
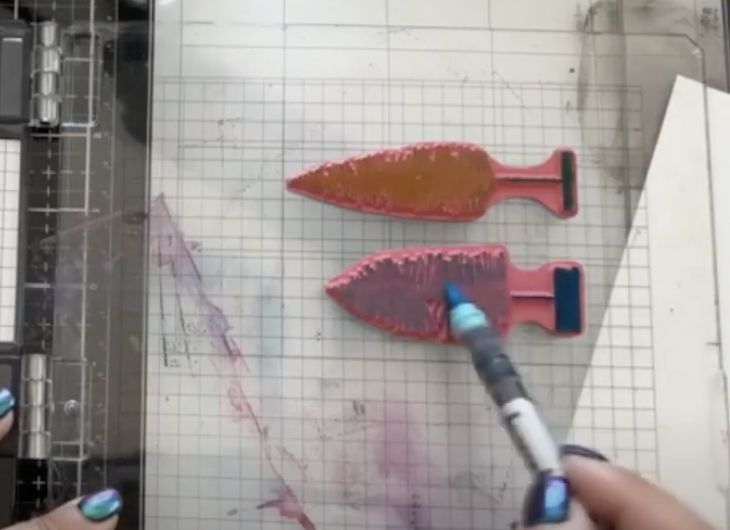
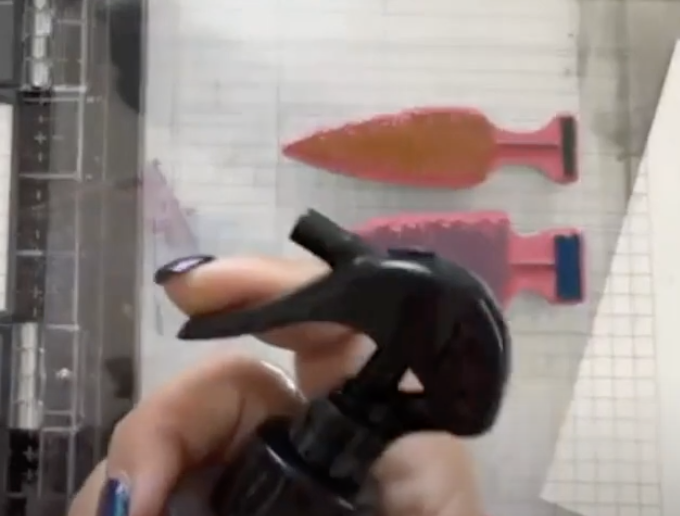
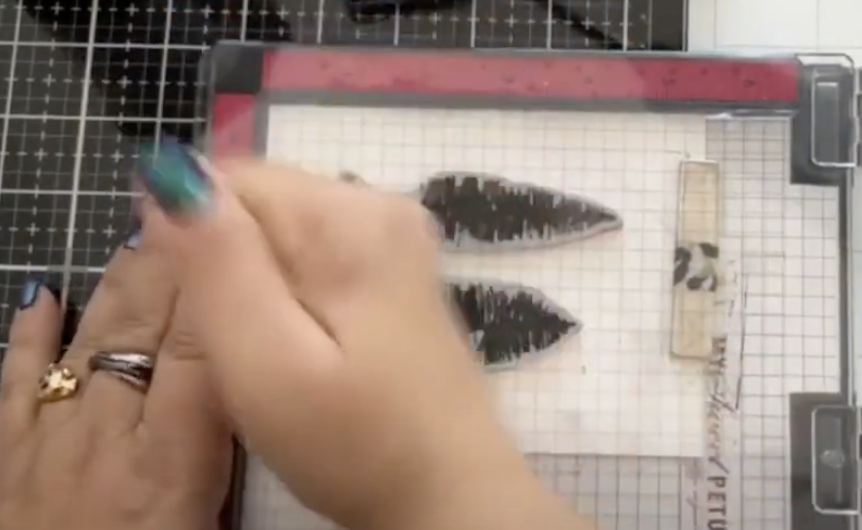
Color the base of the tree stamp with the darker color and the rest of it with the lighter color. Work only on the pair of trees at first. Use the vaporizer to mist the stamps from about 6-8 inches away. Stamp them down onto the card panel. You will notice that there is some ink and water still left on the stamps. Use a second panel to get a 2nd generation print or add more marker to the stamp.

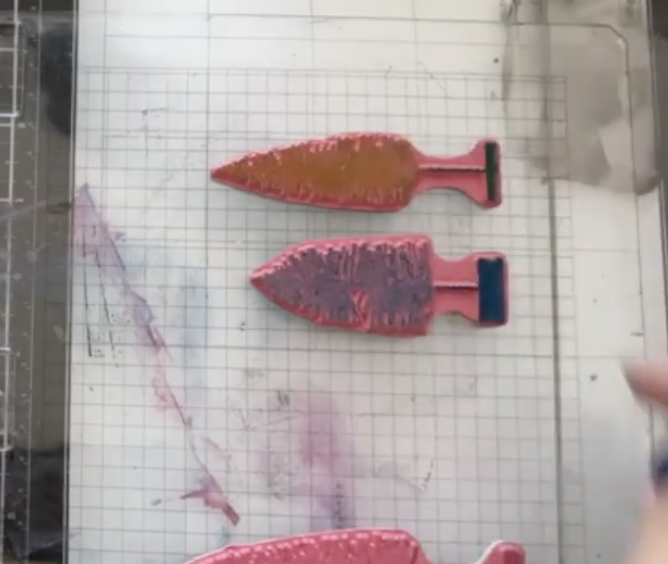

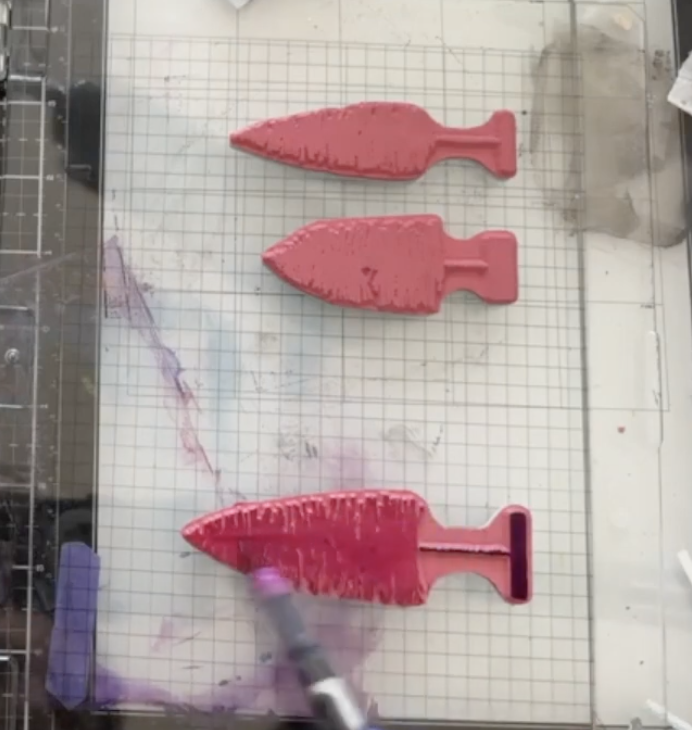
You can set the image aside and do a second generation print, which is not as dark or prominent if you like. You can also add more water or add more color to specific areas using the waterbrush markers. And don’t forget to clean off the stamp when finished.
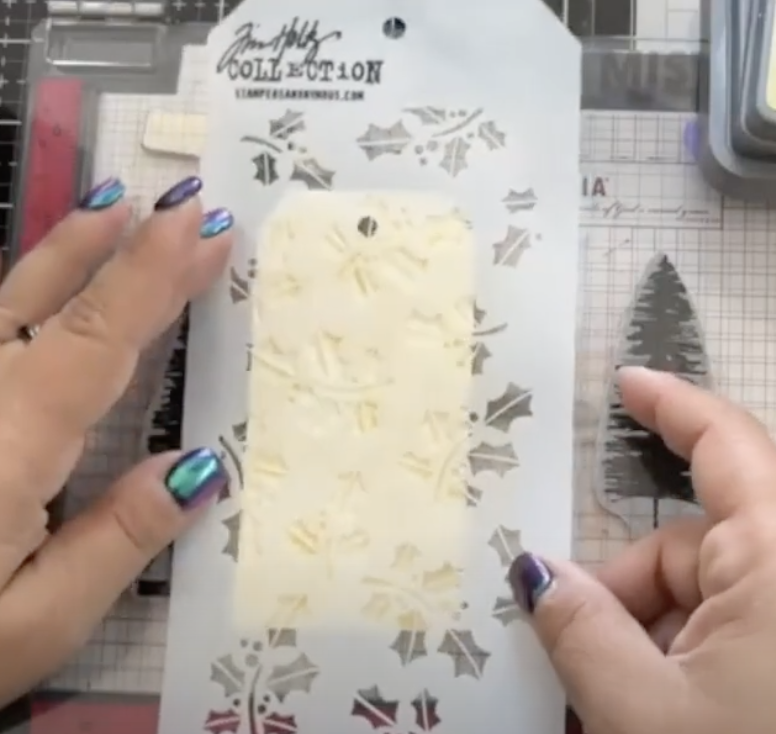
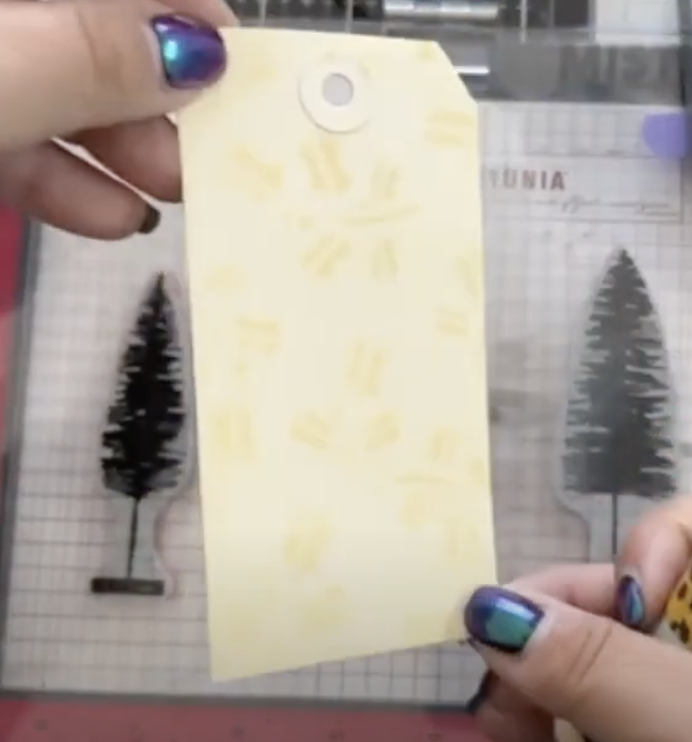
This technique can also be used on different types of paper such as mixed media tags. You can experiment with different colors and techniques to see what works best. For example, you could use magnets to align elements on the card or use stencils to create a background with light colors. You could also use markers or inking, but for this card, we decided to use a light color antique linen to create a subtle background. The focus should be on the tree and we want to avoid anything too dark or too distracting in the background.
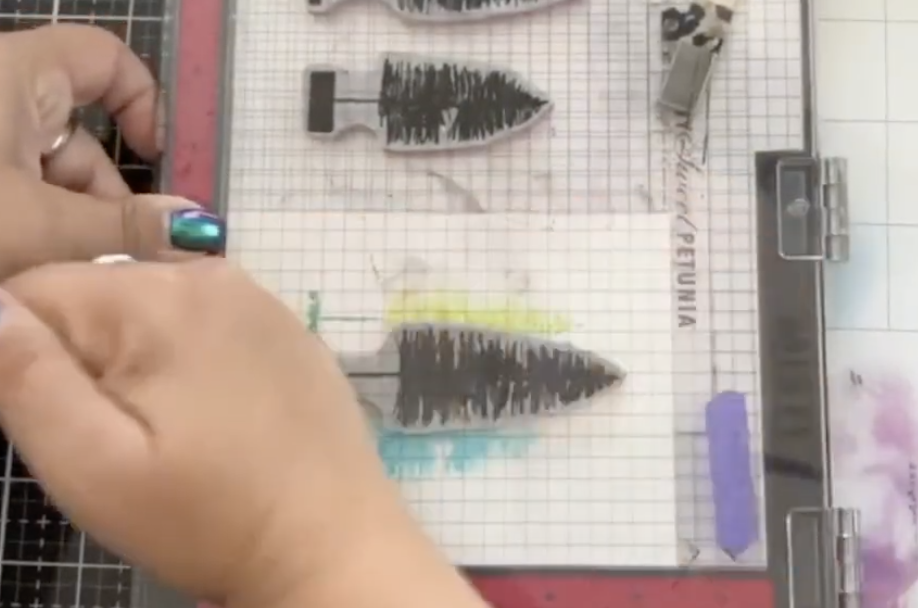
Align a number five tag with grid marks on your work surface and paint the trees on the tag, blending colors and distressing the ink. Keep in mind that the tag we’re using is not specifically watercolor, but is made to hold onto techniques and be distressed. You can switch the color from purple to red if you don’t like how the purple looks and you can use heat to dry the tag if it is still too wet.
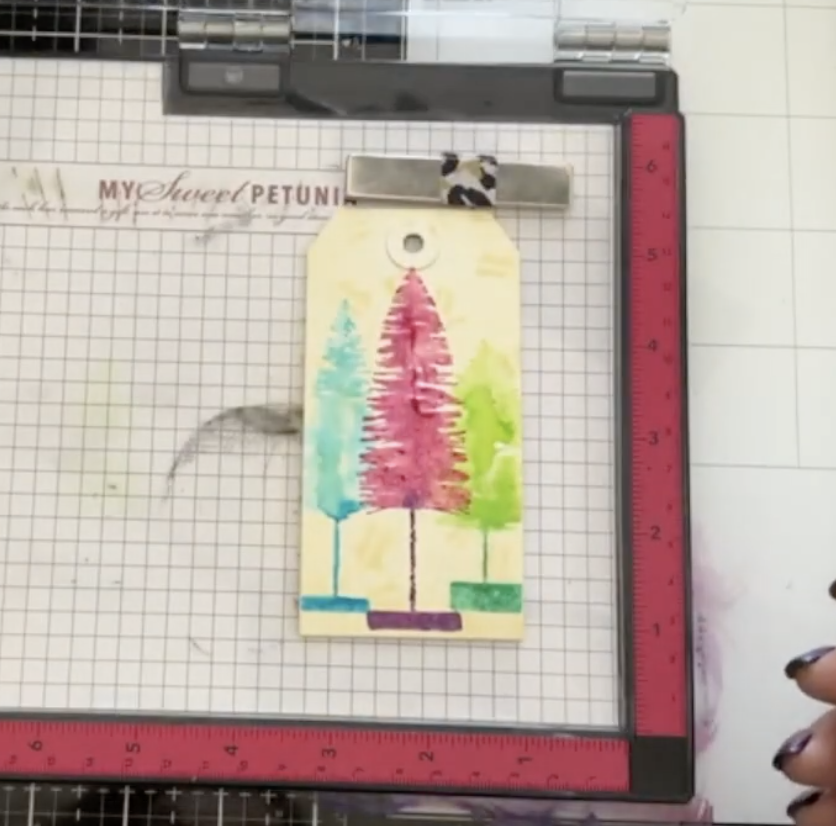
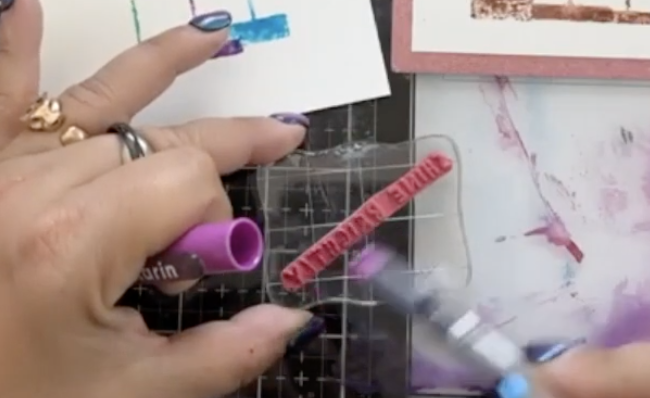
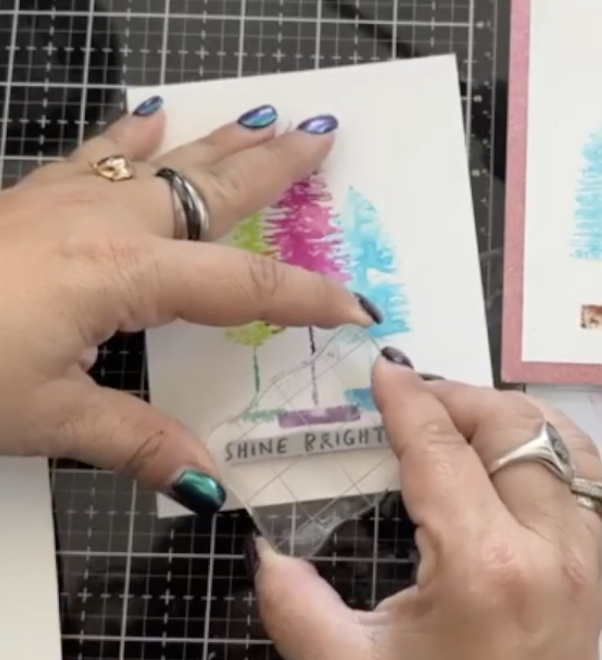
Take a look at the different versions of a card using this technique. I do want to add a sentiment by embossing or stamping. I chose Shine Brightly from the Noteworthy stamp set. You can also use the karin markers to match the color palette of the trees. Take the marker, color on the sentiment and then stamp it where you would like it. If you want, you can also add bling to the card.

We hope you’ve enjoyed this tutorial and we can’t wait to see your creations! Remember to share them on social media and tag us on Instagram.
Supplies


Nina Boettcher
Owner at Creative Escape and Crafters Home
