

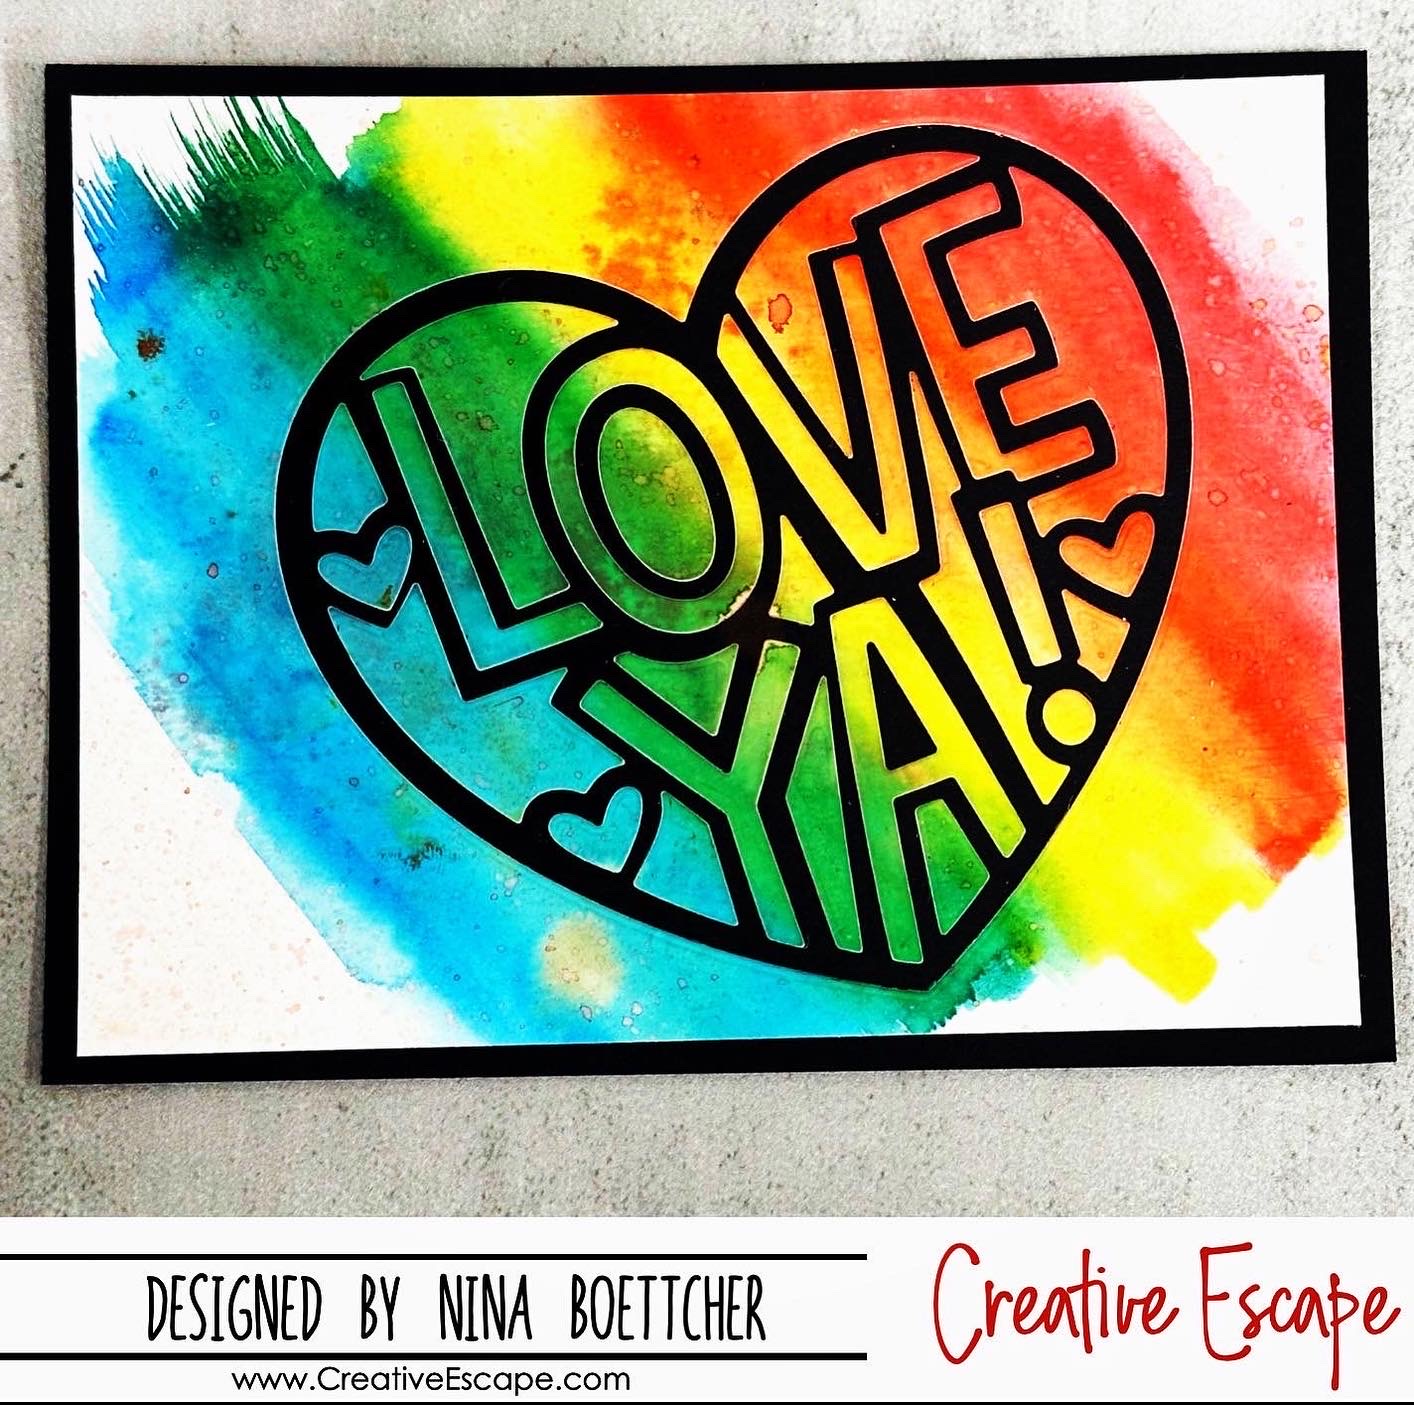
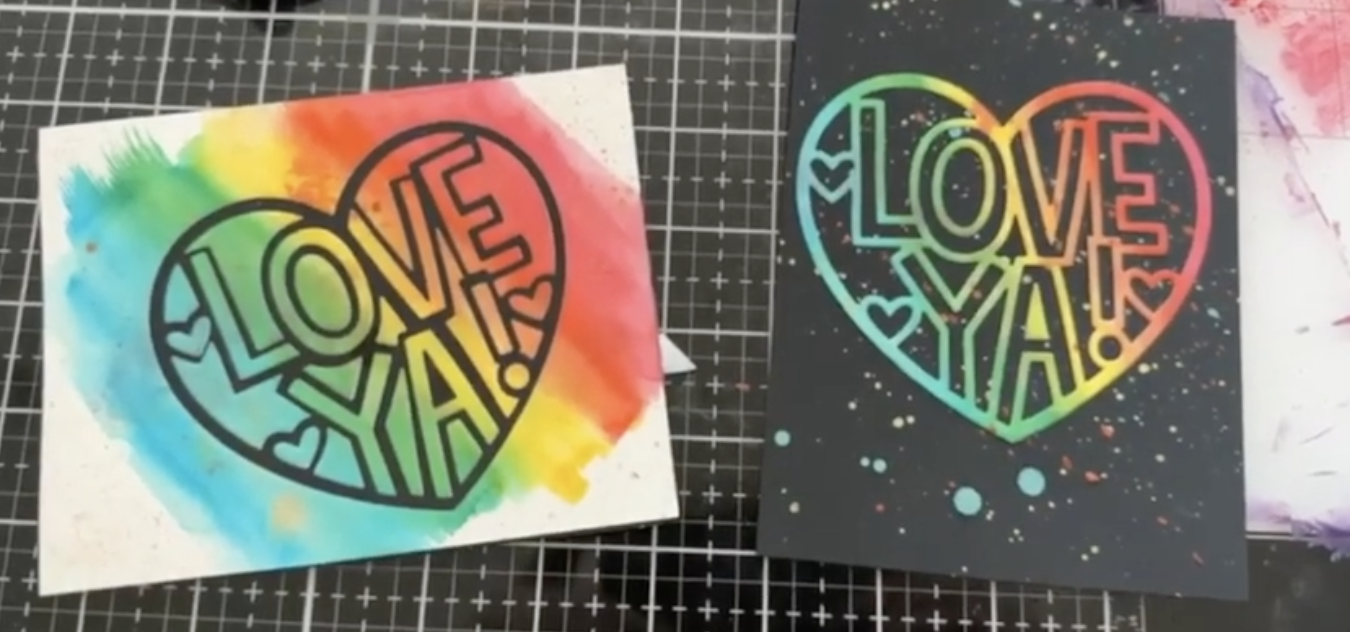
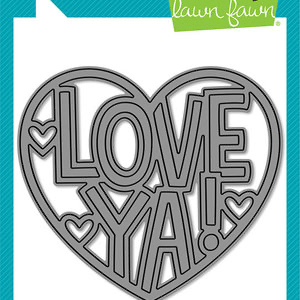
Today, I’m going to show you how to make a cute and unique card using the new Lawn Fawn giant love ya die, karin brushmarker pros (watercolor markers) , and mica stains. This die is fun because you can make two cards with the one pass of the die. This is one of my favorite things I made in January.

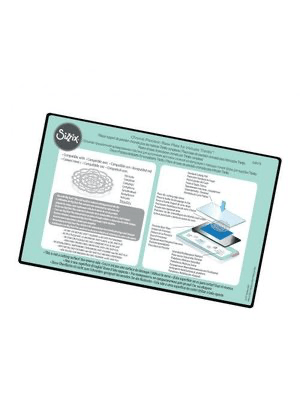
You’ll need a die cutting machine, a cutting mat, your die cuts, a brushmarker pros (or watercolors), a paintbrush ( I used a flat distress brush), double sided adhesive watercolor paper and some cardstock. I highly recommend using the Sizzix chrome precision plate for die cutting this die. It will help make sure it cuts nicely with all the details this die has. I chose black cardstock as it makes the colors pop and the die cuts stand out more.
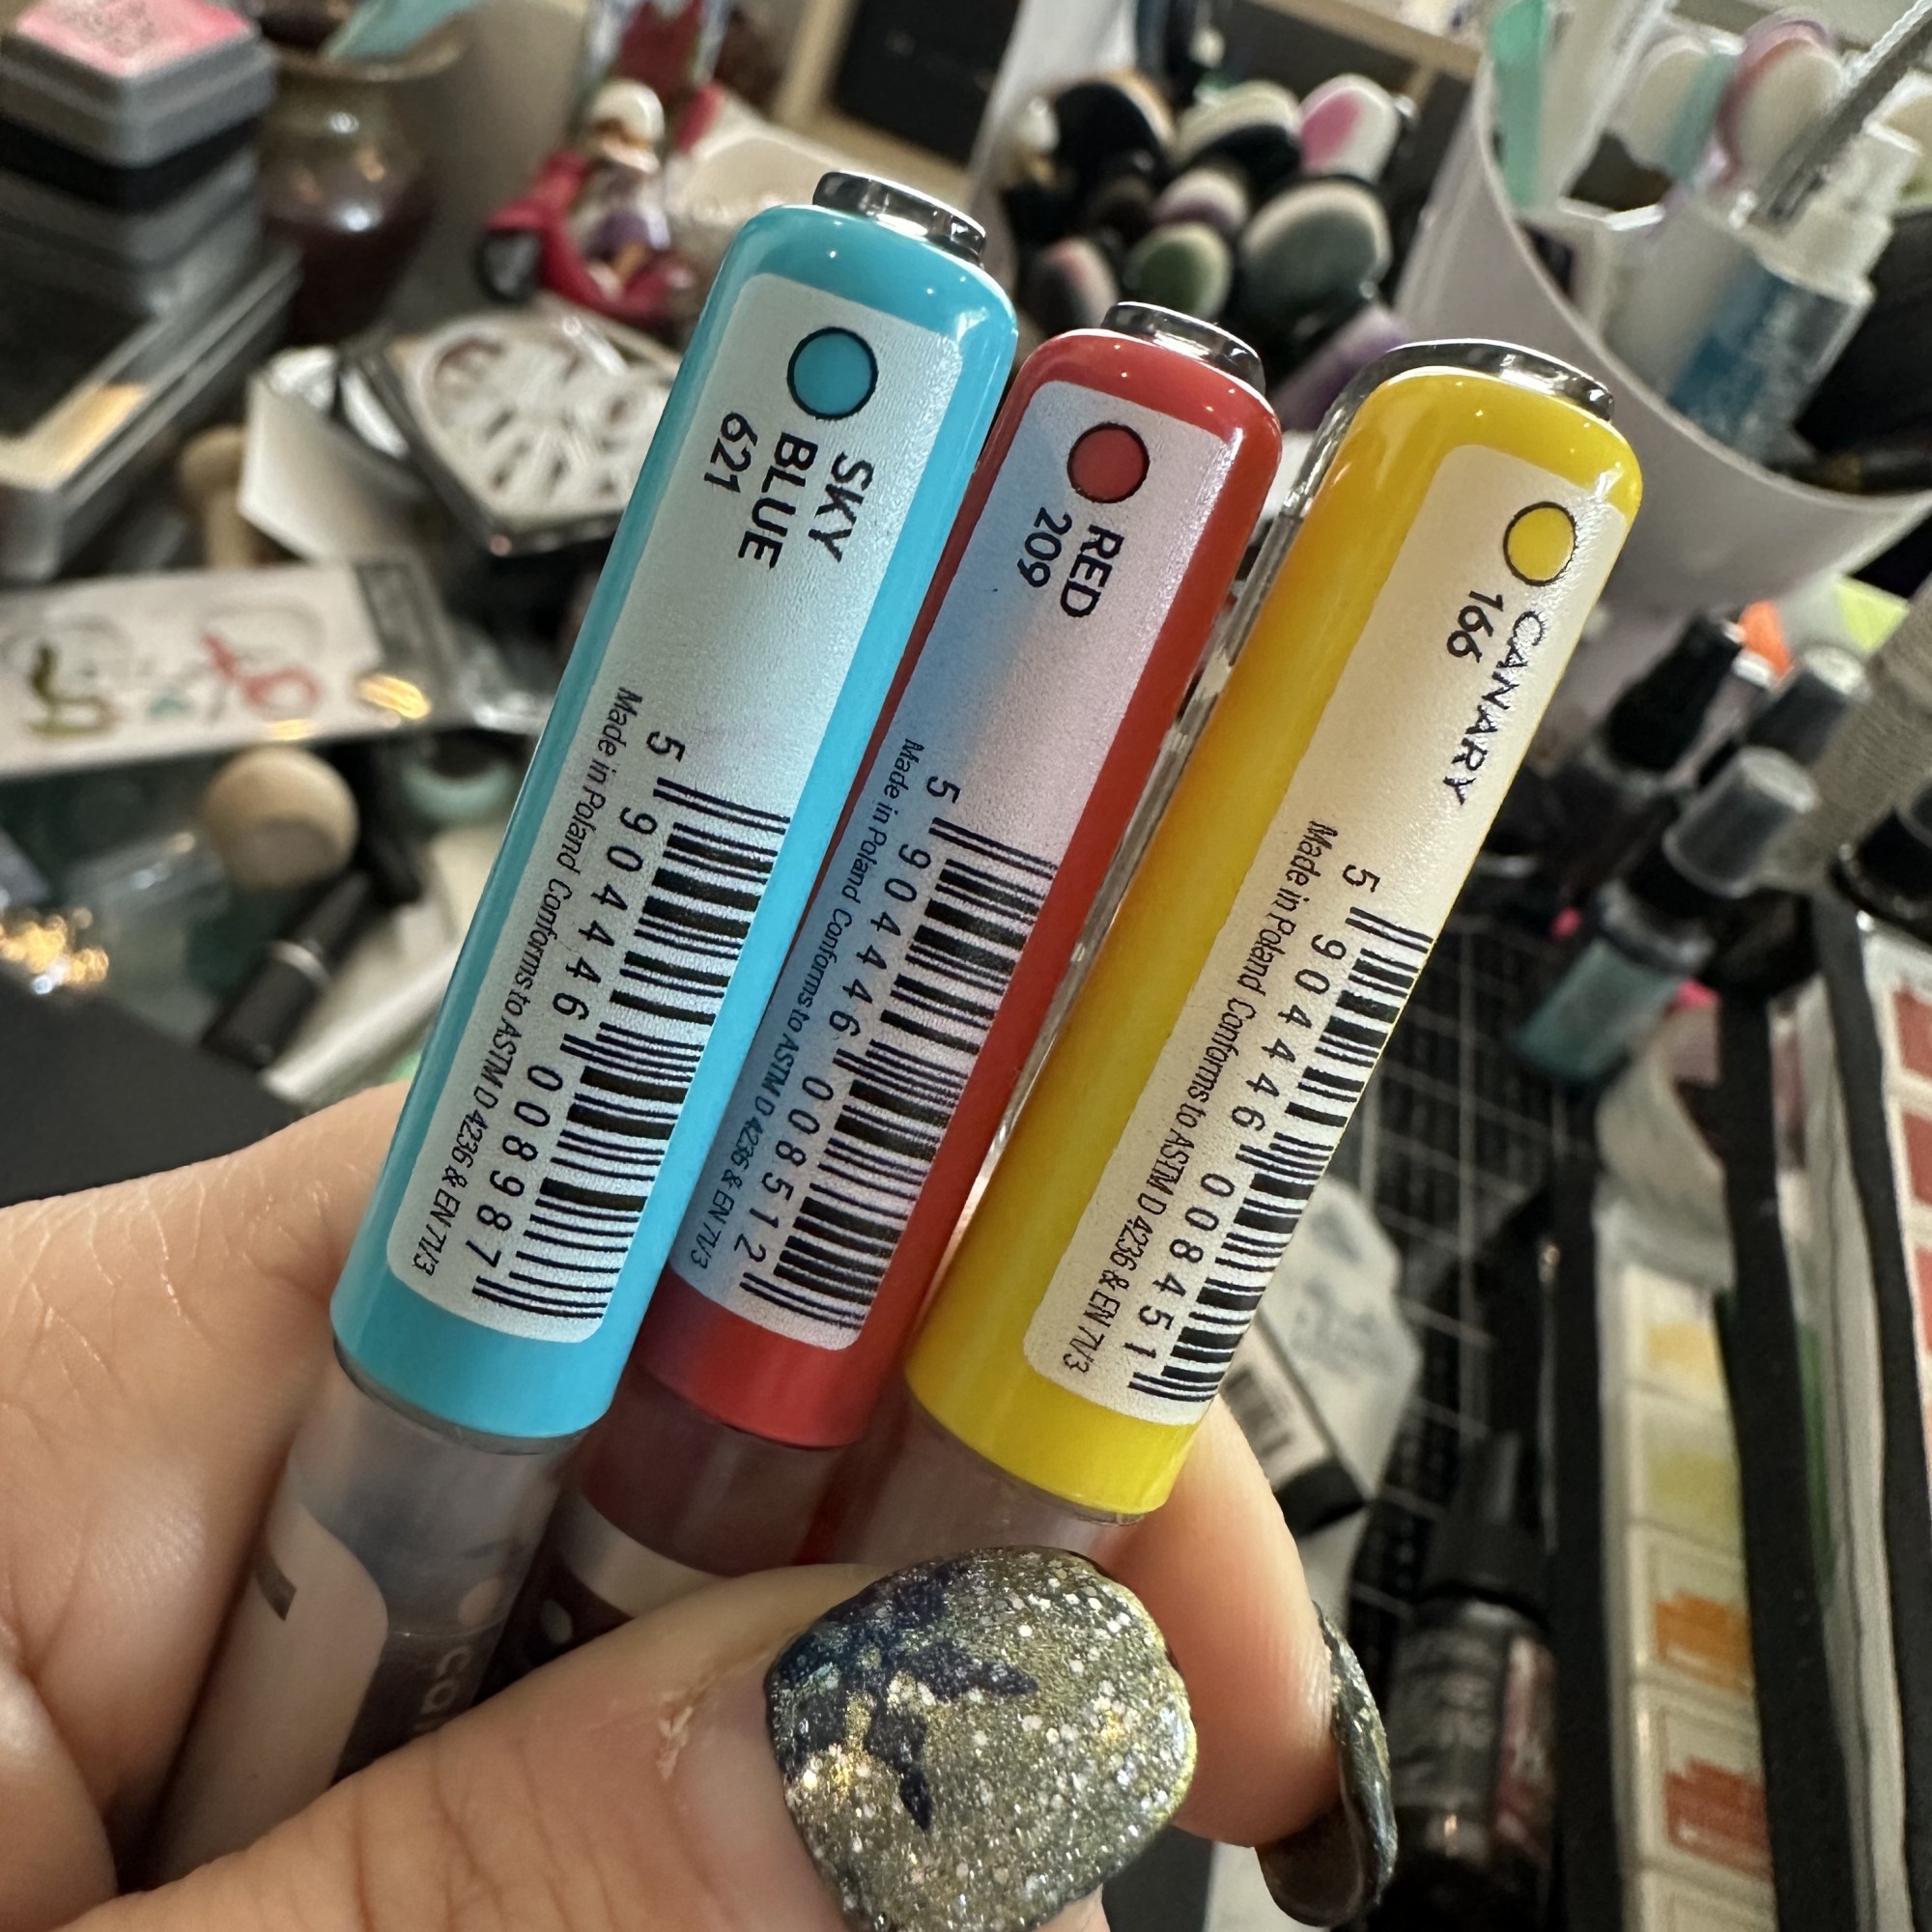
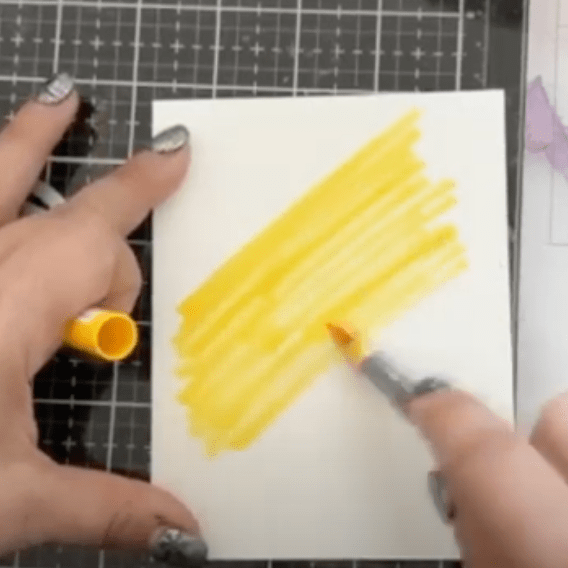
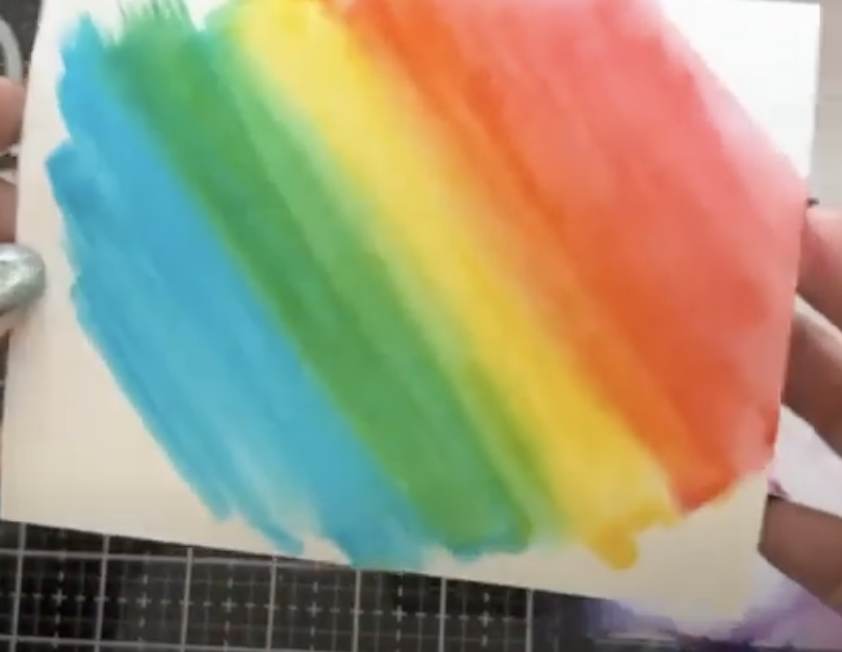
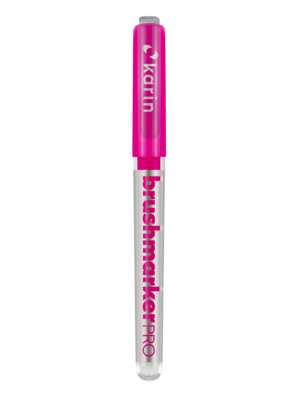
Cut an A2 panel of watercolor paper so we can make a “rainbow” pattern of 5 colors using 3 colored markers. I am using karin brushmarker pros: sky blue, canary & red. Starting with yellow in the middle of the card, color back and forth about a 1/3 of the way. Then do the same with the red overlapping the yellow a little bit and extending out. Repeat with the blue in the opposite direction. Do not worry about the markers leaving streaks, we will smooth it out with water once we are done.
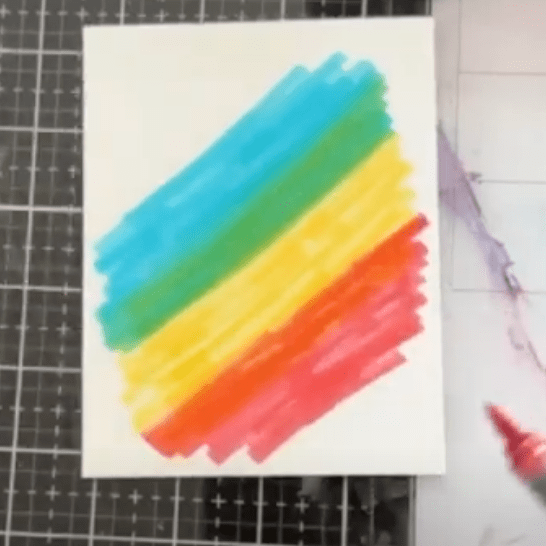

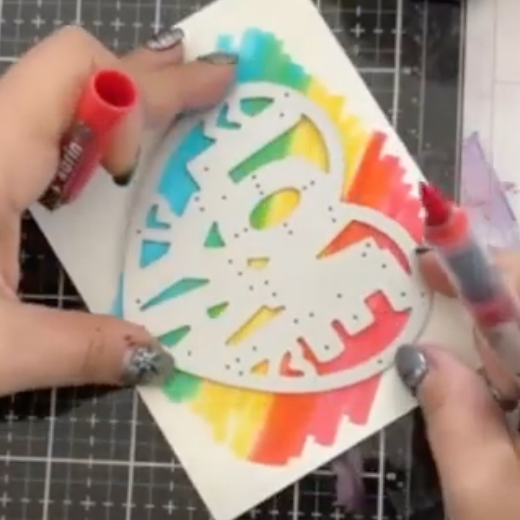
When you think you have covered enough space, place the love ya die on top of the colors to ensure you have enough colored area for your die cut. you also want to colors to extend a little so we can get two cards out of this one technique.
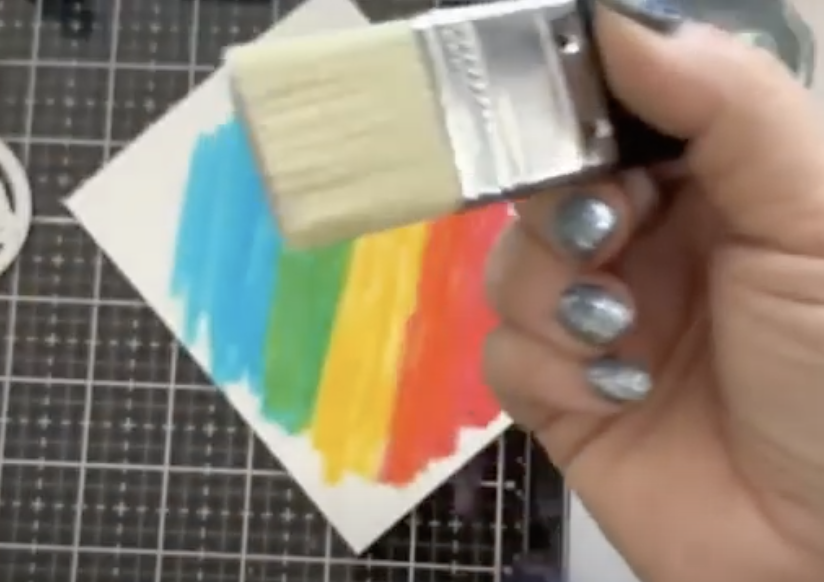
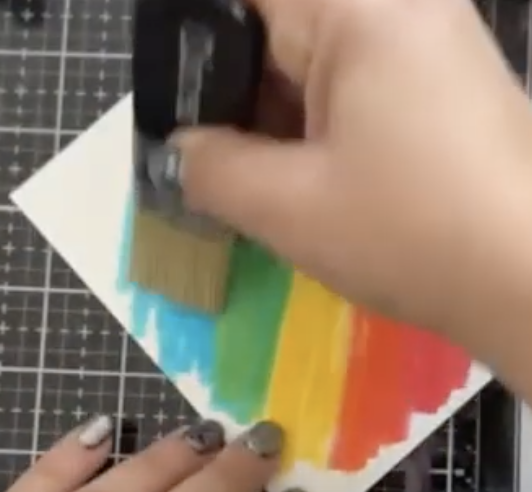
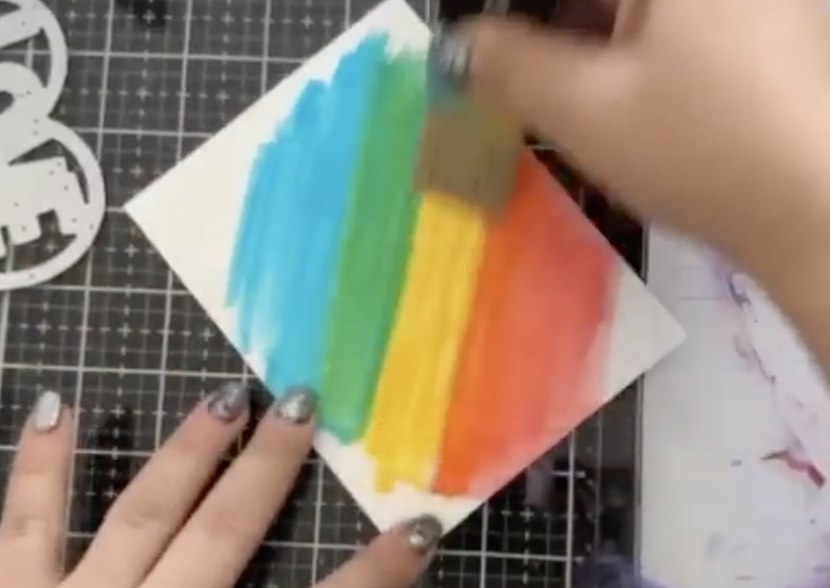
To blend the colors and create that watercolor look you will want to use a flat paintbrush. I personally use the distress collage brush for this cause it’s large and lets me cover a lot of surface area. Dip the brush in water and work in sections to brush water over the blue n green sections. Rinse off the brush and work in the red & orange section. Rinse again and go back into the yellow section.

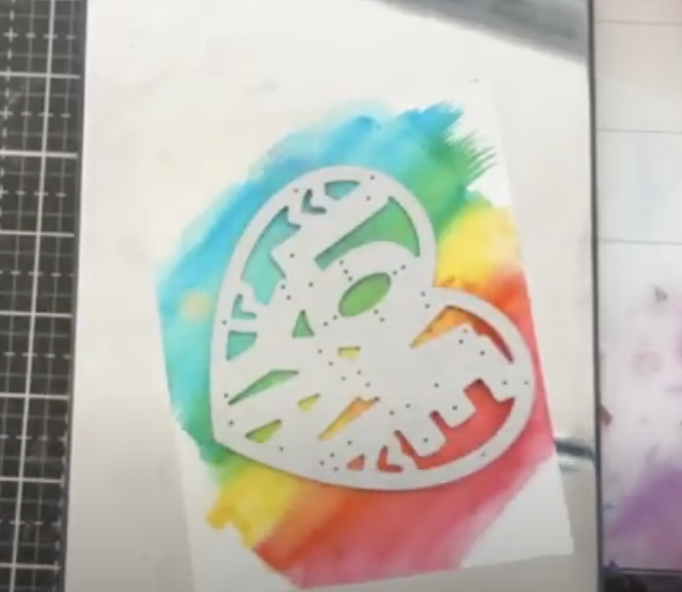
Once you’ve finished coloring, it’s time to assemble the dies cut the love ya for our cards. Add double sided adhesive behind the watercolored panel. This will make it easier to keep all your pieces together and not have to glue each and every individual piece.
I wanted my heart to be a little bit of an angle, so keep that in mind when setting it up on your cutting plates. I used the chrome precision plate and ran it through my switch machine.

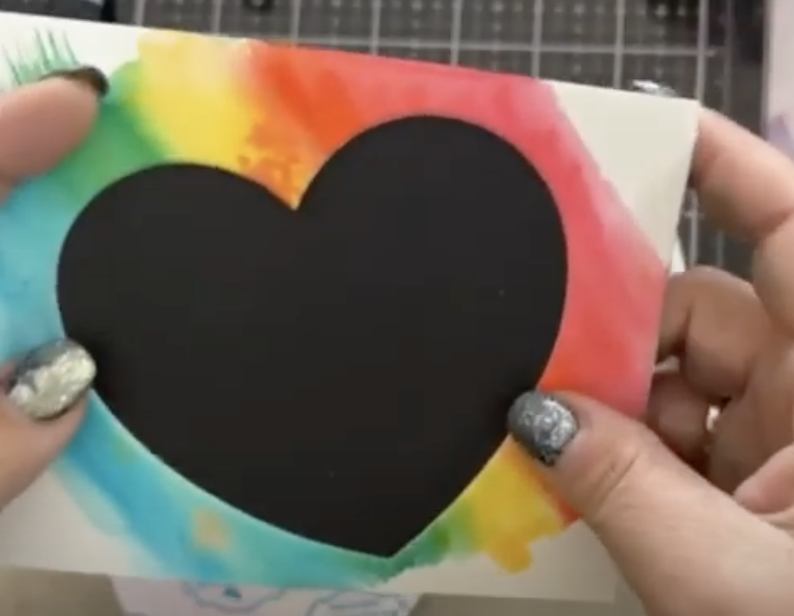
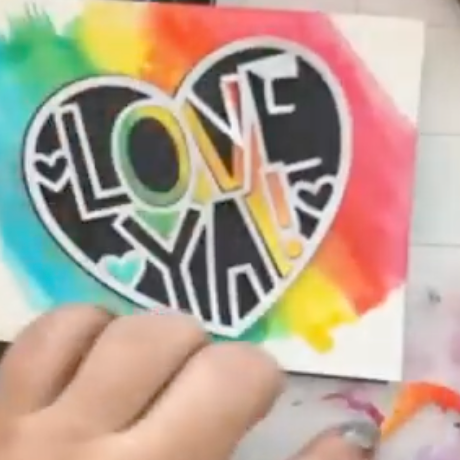
Both my cards will be on black A2 card panels. One will stay plain black, and we will adhere the watercolor outline onto it leaving a black heart in the center of the panel. The second black card base will get ink splattered to make it look sparkly and fun.
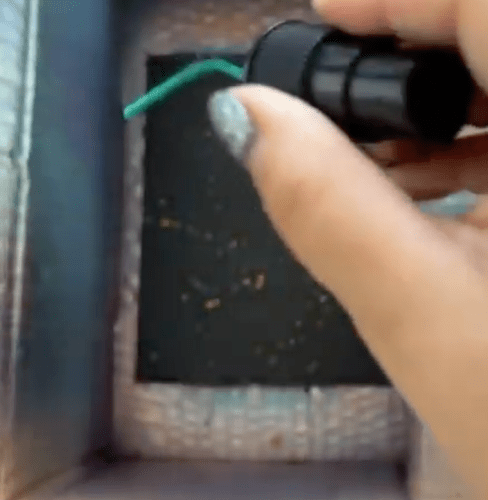
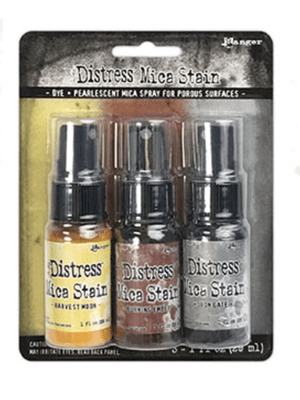
I used Ranger mica spray stains to splatter into the black card panel. Take the top off the bottle and use the inner nozzle to gently flick mica stain onto the black card base. Repeat with as many colors as you want.


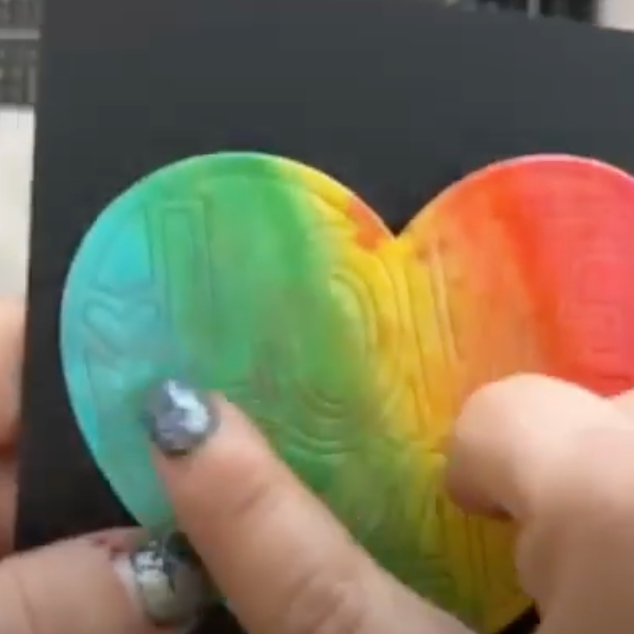
Once the mica is dry, adhere the love ya die cut to the panel. Save the adhesive backing so you can use it as a template for the second card. If it is too hard to save the backing, you can always cut another love ya from cardstock and use it as a stencil for this card over and over again.
Work your way from one side of the card to the other. I tried to start with the big letters and move to the smaller details. My V & A ended up a little misaligned but not enough to bother me. If I had used liquid glue instead of adhesive backing, I would have had a couple of seconds to move them into their precise place. But, someone once told me that people you create cards for love the card and don’t know what its supposed to look like hehehe.

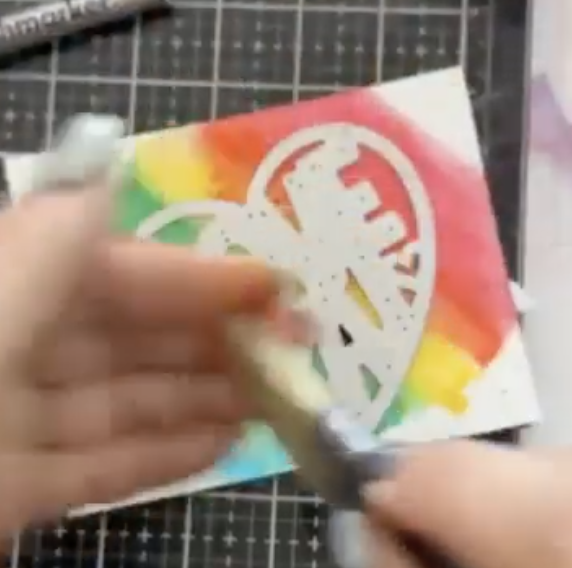
Finally, you can add any additional details you want. I like to add a little bit of ink splatter to mine for a fun and unique look. I used the actual die to cover the center part of the heart so the splatter would be around it. Tada! Your cards are complete.
I hope you enjoyed this tutorial and have fun making your own unique cards. Don’t hesitate to get creative and play around with different colors and designs. Happy crafting!
Supplies


Nina Boettcher
Owner at Creative Escape and Crafters Home
