
Hey craft lovers! Nina here, the owner of Creative Escape. I’m excited to share with you the first installment of our Creative Escape + Sizzix Seasonal Selection Kit series.

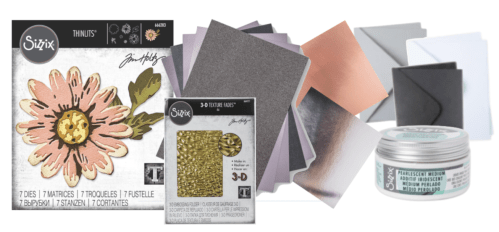
This kit is centered around the new Blossom die from Tim Holtz and is priced at $39.99. It also includes a variety of craft supplies: an embossing folder, acrylic paint, metal sheets, card bases, envelopes, and opulent paper & die cuts. The opulent paper comes in five different color palettes and we’ll be featuring the charcoal pack in this kit.


In the first episode, we focus on the assembly of the blossom die. It is not a colorize die so it’s slightly difficult to layer. We will also be prepping our opulent sheets to maximize use of them. Grab a pigment-based ink to create a subtle background on a black card base.
Start by cutting each sheet of opulent paper in half, long ways and then in half again, short ways. This is to not waste any paper and to have pieces that are a quarter of the opulent paper sheet. The card bases and envelopes that come with the kit are in metric sizes and the opulent paper will fit the front panel of the cards and envelopes, giving a thin border around the card base.
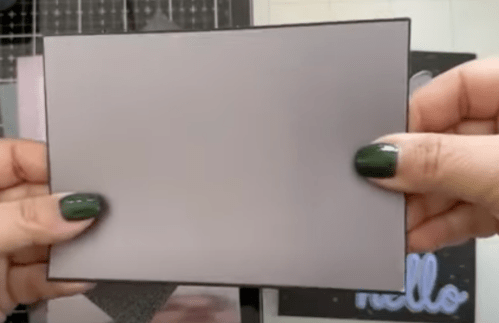
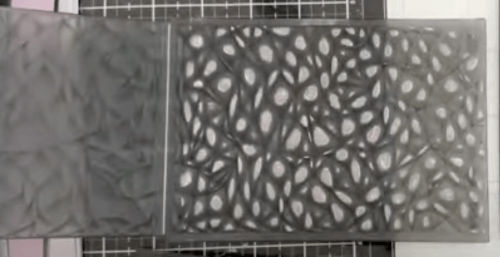
We are using the embossing folder included in the kit to add texture to the background of the card without using a machine. This will not give us the exact image but help create a pattern without making the background too busy. First, rub the pigment ink onto the one side of the embossing folder panel (I used the curved side not the pointy side). Put your card base in the folder, close it and gently apply pressure with your hands. You should have a gentle pattern of random dots as a background.
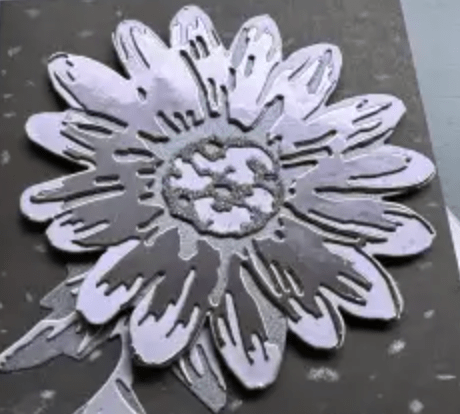
Now we are going to slowly walk though die cutting and assembly the blossom die. Using liquid glue works best to assemble it as it gives you a couple seconds to help align your layers if you need to. If you don’t prefer to use liquid adhesive, you can also use adhesive backed sheets on each the die cut layers or a tape runner.
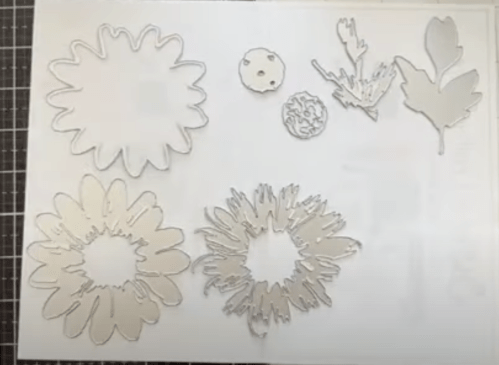
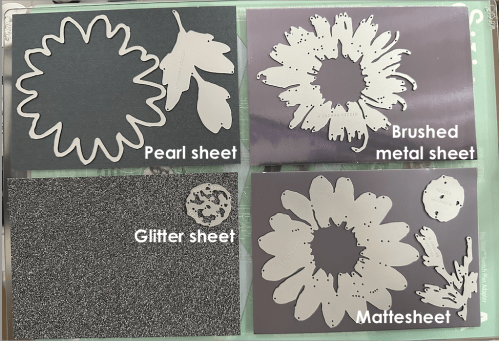
The blossom die set has 7 pieces total- 3 for the flower base, two for the flower center and two for the leaves. We are going to cut out the layers in 4 of the 5 types of opulent paper. Using opulent paper for a design like this is one of my favorites because I don’t have to think about matching all the colors since they come designed that way in the pack.
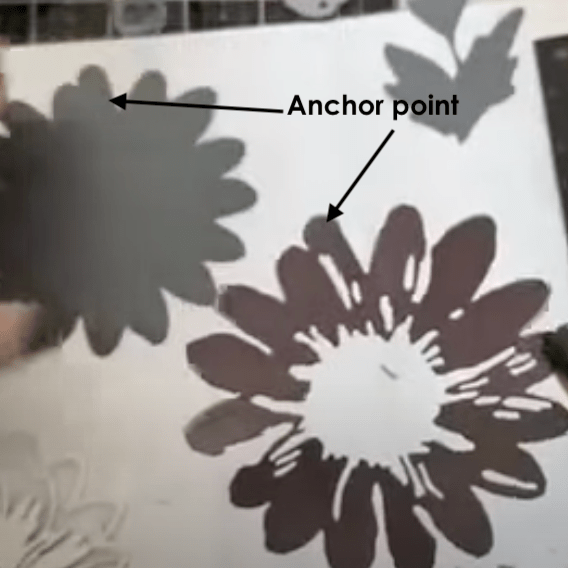
Once all your pieces are cut, it’s time to start layering your flower. Because this is not a colorize die, there are no indentations on where to glue each layer so we need to find an anchor point for each step.
The first layer is the base of pearl paper and the piece of matte paper. I find the easiest anchor point is where two petals are “stuck” together. Add liquid adhesive to the back of your matte piece and line up the anchor points. Liquid adhesive will give you a couple seconds to be able to move your piece around if you don’t line it up perfectly while laying it down.
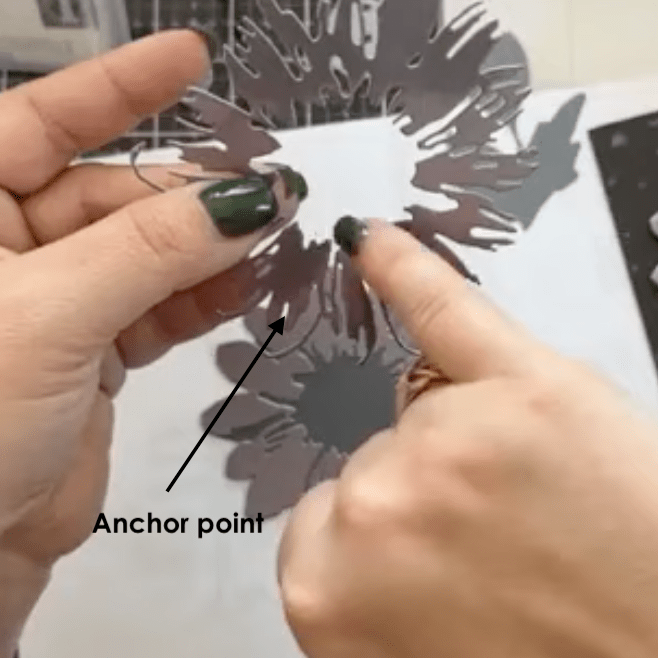
For the brushed pearl flower piece, we have a different anchor point. keeping our flower with the first anchor point at the top, we move to the bottom left to find a long inner divot and two thin pieces that swoop down the petals. Attach with liquid glue.
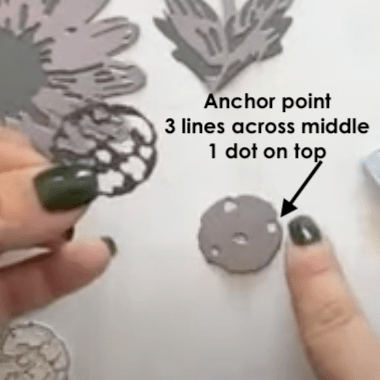
The inner flower piece is two pieces with four dots as an anchor point. one dot on top and three across the middle. For the leaves, use the stem as your anchor point.


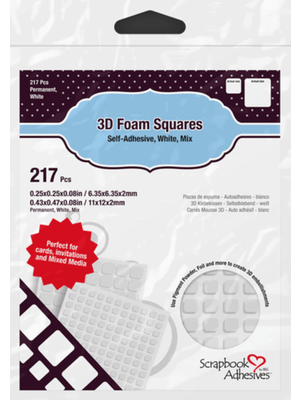
Adhere the flower with foam tape to the card base. Then glue the leave last onto the card back by tucking it behind the flower. Trim the leaf if needed.
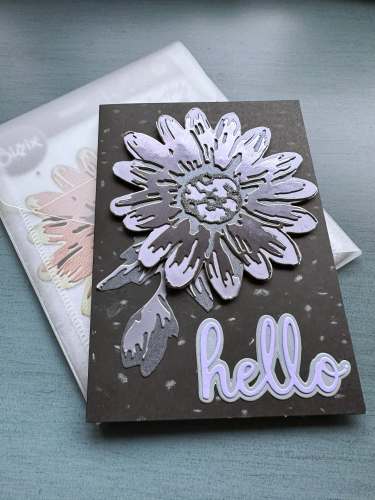
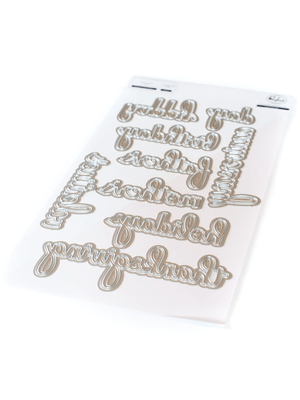
There are precut diecut pieces in your kit as well. We will be using the hello die cut from Pinkfresh Studios. It is the word hello and the shadow layer. They were diecut in white so you can use any color ink that makes you happy.
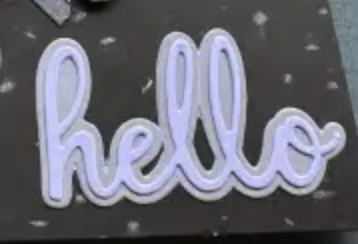
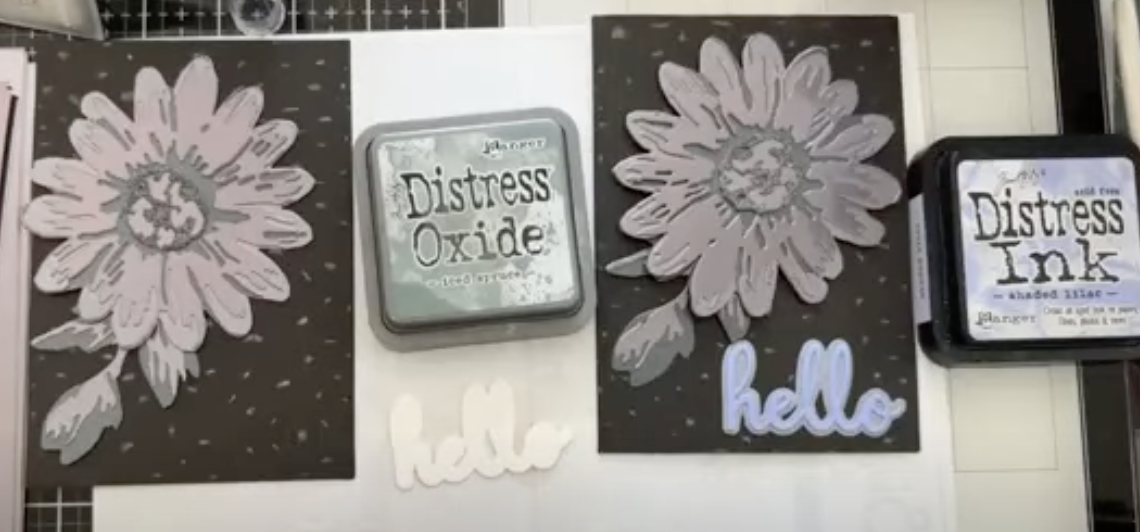
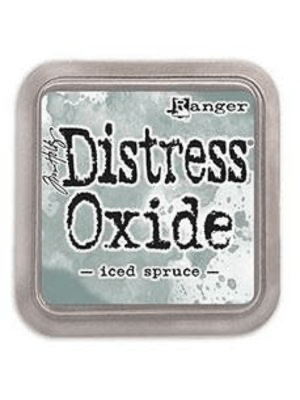
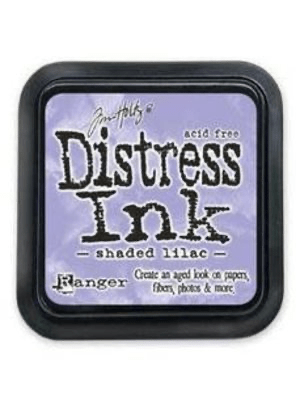
I am choosing go to iced spruce oxide and distress shaded lilac. I know it sounds weird with this opulent pack. When the charcoal layers are all together, they have this beautiful almost purple undertone. This is why I chose shaded lilac. For the outer layer of hello, I wanted to use shaded lilac but give it a grey-ish undertone so I inked the piece with iced spruce. Once it was dry I added shaded lilac on top of it. Then inked the word hello in just shaded lilac.
Glue the hello layered diecut in the bottom right corner of the card panel.
I hope you enjoyed episode 1 of our Creative Escape + Sizzix Seasonal Selection kit. Make sure to stay tuned for the next installment on February 3 live on Facebook & Youtube. Happy crafting!
Supplies

Nina Boettcher
Owner at Creative Escape and Crafters Home
