
Hey craft lovers! Nina here, the owner of Creative Escape. I’m back with the second installment of our Creative Escape + Sizzix Seasonal Selection Kit series.

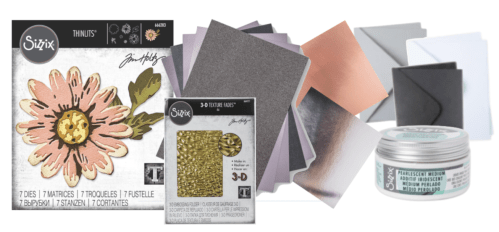
This kit is centered around the new Blossom die from Tim Holtz and is priced at $39.99. It also includes a variety of craft supplies: an embossing folder, acrylic paint, metal sheets, card bases, envelopes, and opulent paper & die cuts. The opulent paper comes in five different color palettes and we’ll be featuring the charcoal pack in this kit.
This installment will focus on using pearlescent medium from Sizzix to add a fun accent to our project. We will also be using the acrylic paint that was included in the kit to show how pearlescent medium affects acrylic paint.
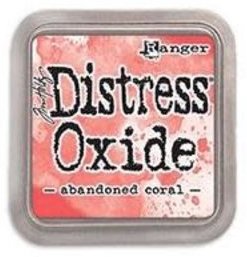
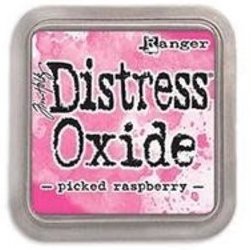
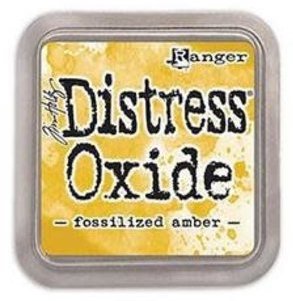
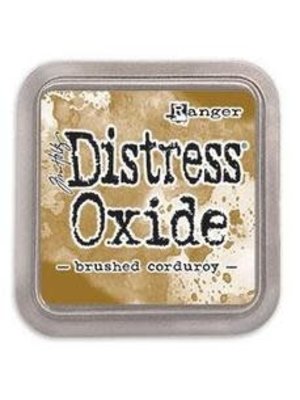
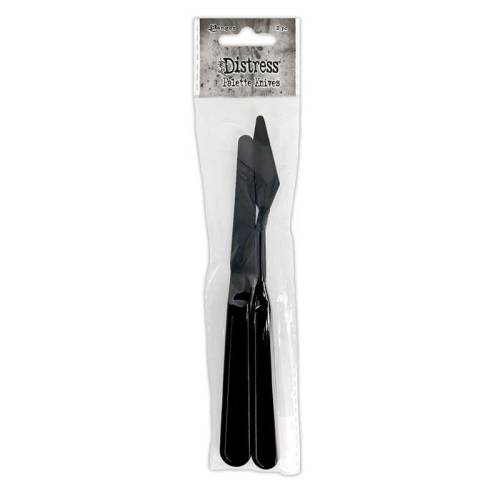
Gather your supplies and play along. You will need two sheets of letter sized paper (that reacts well with water reactive inks such as distress heavystock paper), cut down to A2 sized card panels. In addition, you will need a palette knife, a water sprayer or mister, a craft mat or craft sheet and water reactive inks (such as Ranger distress or Hero Arts reactive inks). I used the following distress oxide inks: abandoned coral, festive berries, picked raspberry, and fossilized amber. I also used brushed corduroy distress ink.
Maker disclaimer- When I’m choosing colors for a project I try not to get hung up on if I am using all distress or all oxide. I’m just drawn to certain colors and I choose based on the color that feels right in the moment. I also have not finished my distress collection, so I only have some colors in distress and some in oxide. Both distress and oxide are water reactive, which is what was most important to me, so I honestly just chose the colors without worrying about which type of ink pad it was.
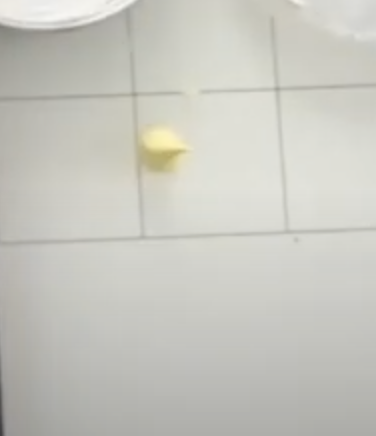
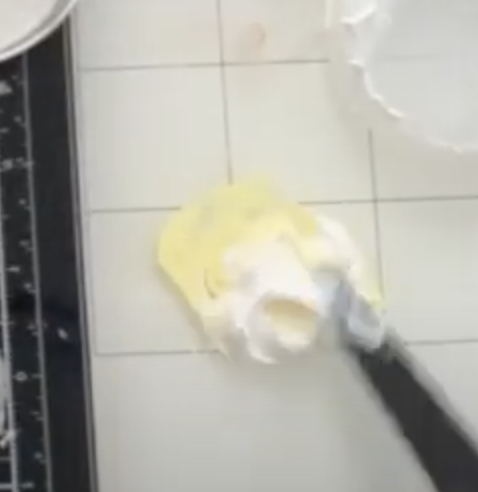
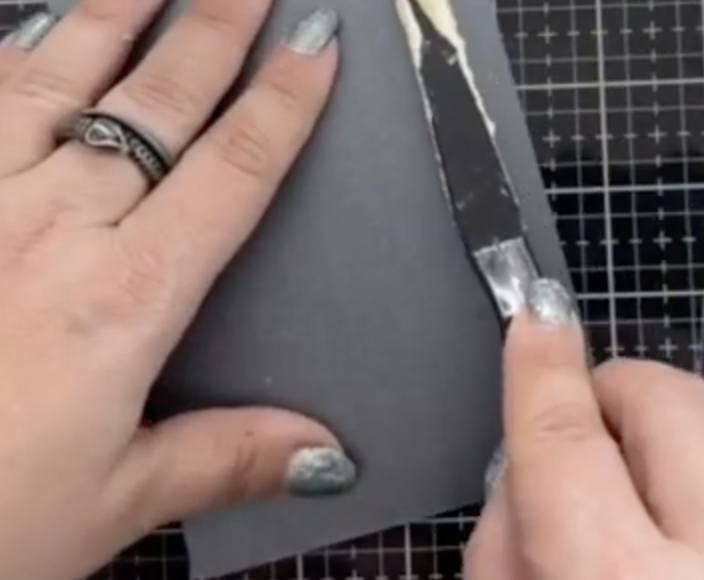
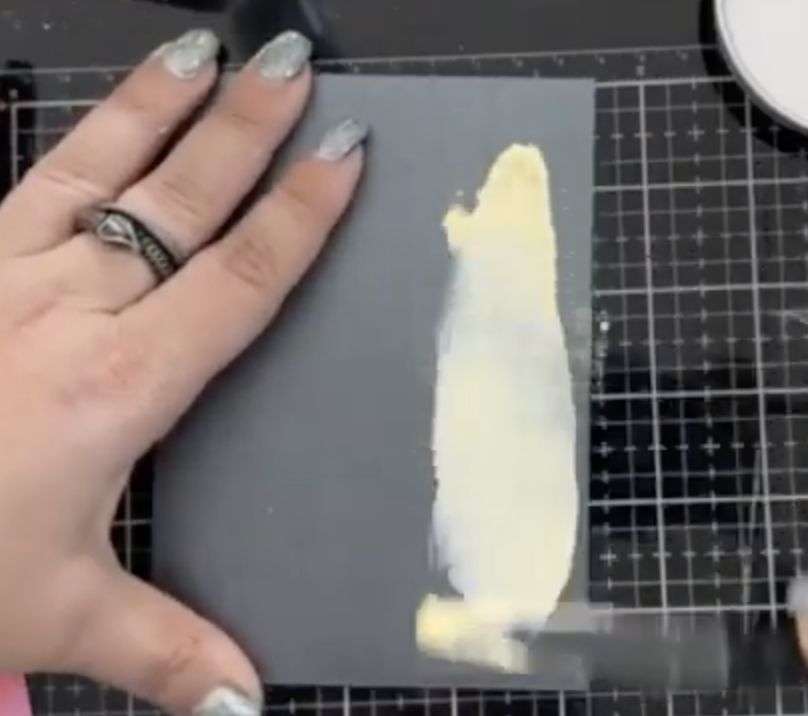
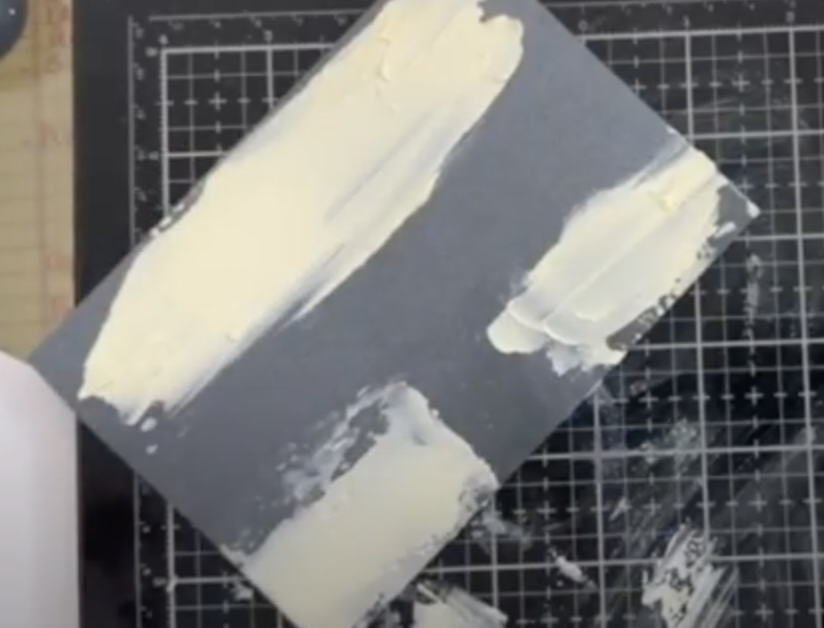
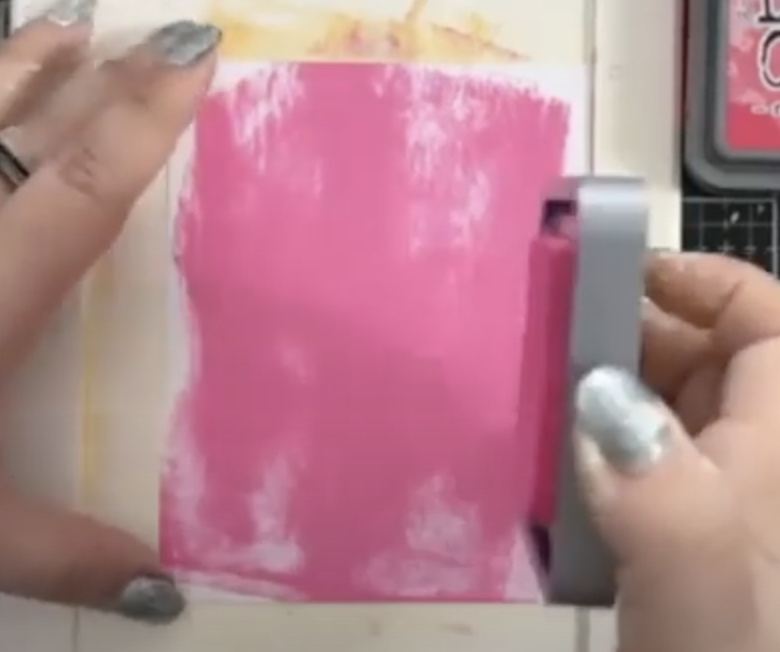
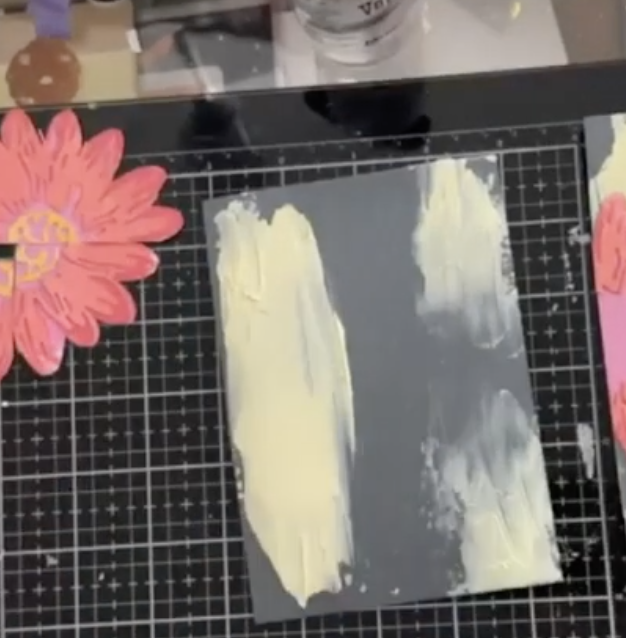
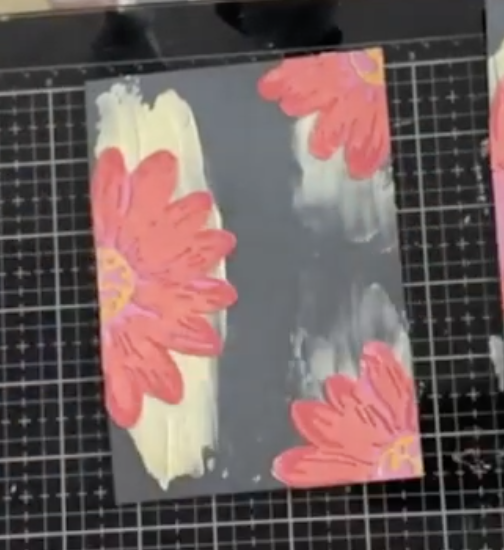
From your kit, you will need the pearlescent medium, the creamy acrylic paint, and the pearlescent card panel. Start by putting a small amount of acrylic paint on a glass mat or craft mat. Add a dollop of pearlescent medium and mix well. The medium will lighten your acrylic color and create a beautiful pearlescent shimmer in your paint. Using my pallet knife, I added the acrylic+pearlescent mix to my charcoal pearlescent card base from the opulent paper pack. We want one long stroke on the left side of the panel and two short ones on the right. (I’m right handed so it’s easier for me to always work with paint on the right side of my card base and then turn and work in the same spot). When you are finished with that, set it aside to dry.


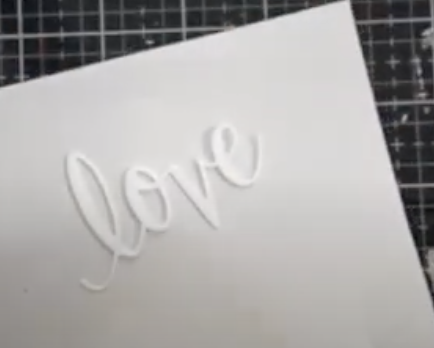
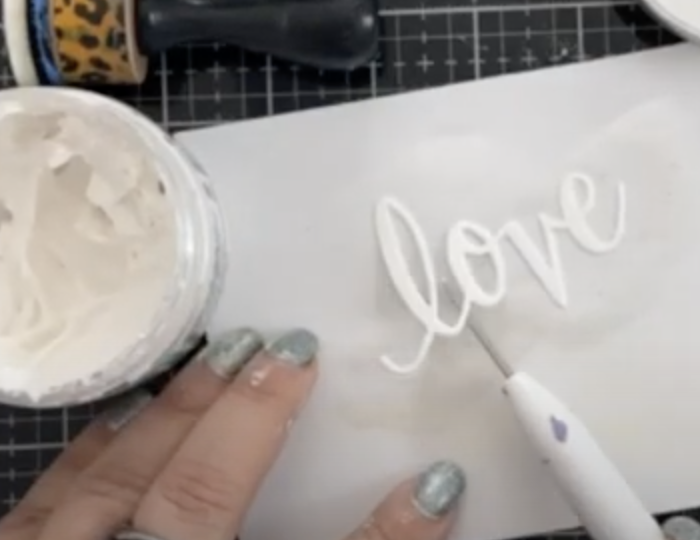
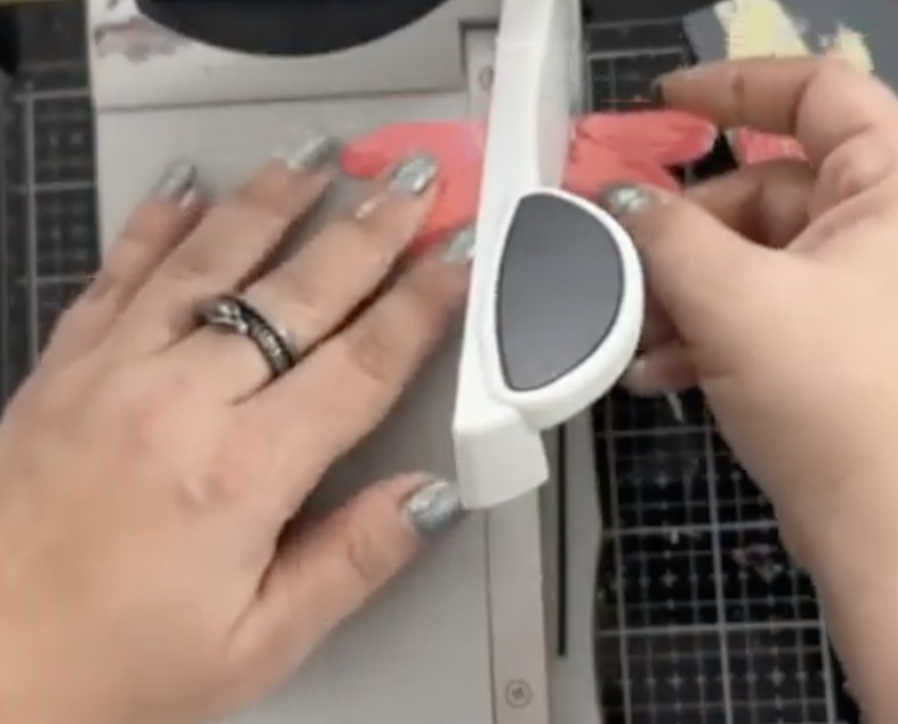
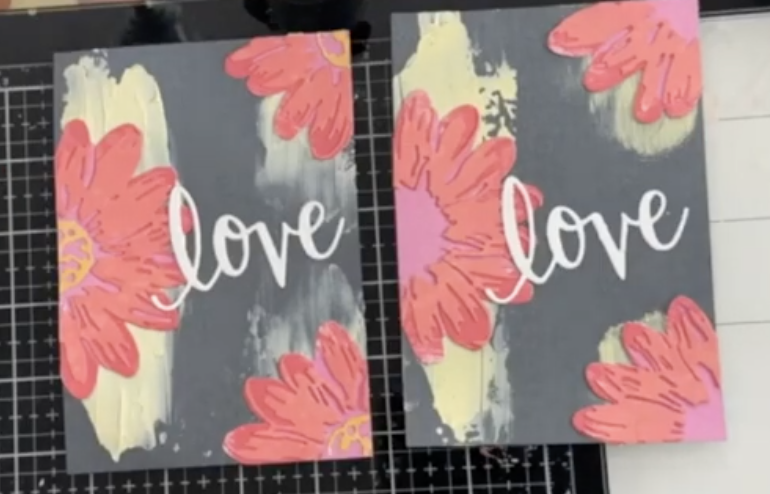
Take your love diecut and cover it with pearlescent medium. Once dry it will have that beautiful sheen. I just used my finger to apply it while laying it flat on a scrap piece of paper.
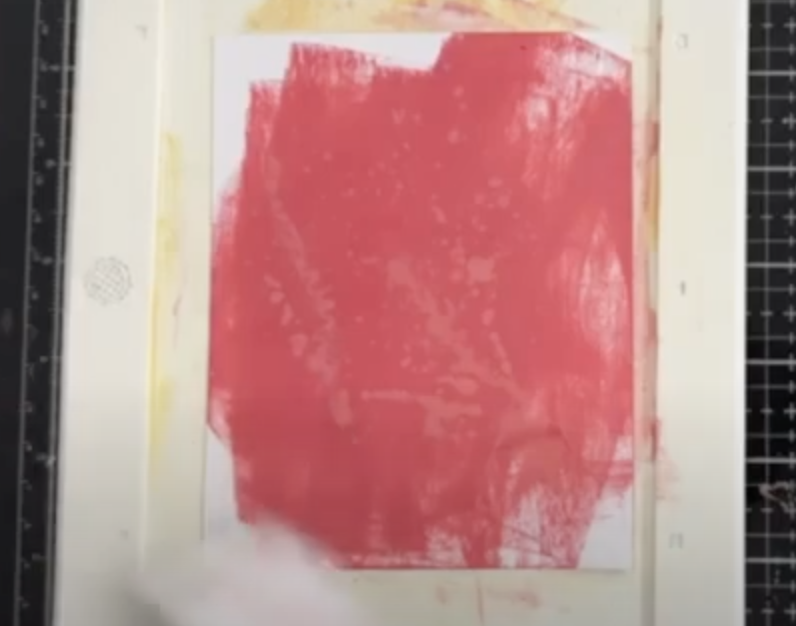
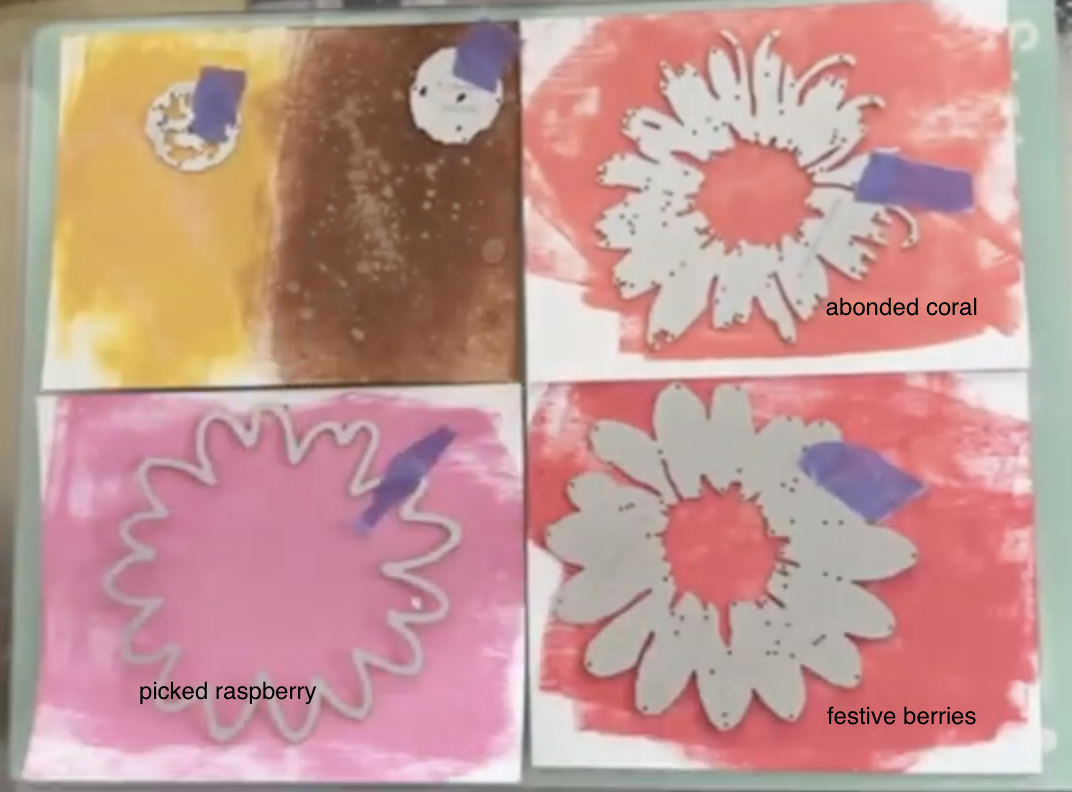
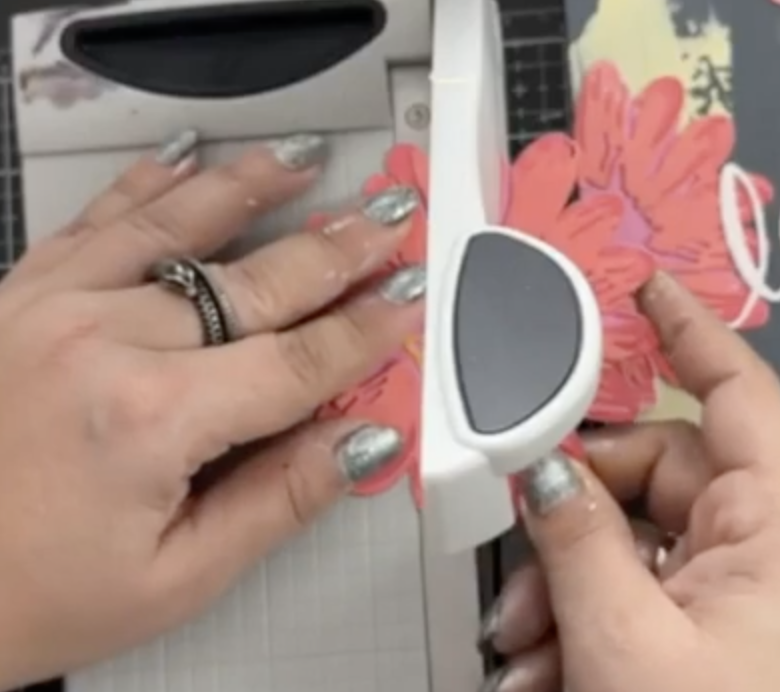
Now you will need 4 A2 card white panels (distress heavystock recommended). Take the first panel and add festive berries. I just went straight pad to paper. Then I flicked water onto the ink to create a water reaction. Repeat that process with picked raspberry and abandoned coral. For the last card base, ink half the panel in fossilized amber and the other half in brushed corduroy, then flick with water as well. Once the paper is dry, die cut your blossom flower as pictured below. I decided at the last minute to not use the brushed corduroy layer.

After assembling your flower, we are going to cut it up. We are going to cut it in half (I picked the anchor point from last time and cut straight between petals). Then, take the one half and cut that in half again. You should have 3 pieces to your blossom now.


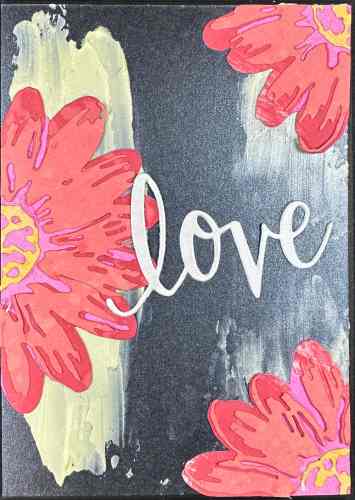
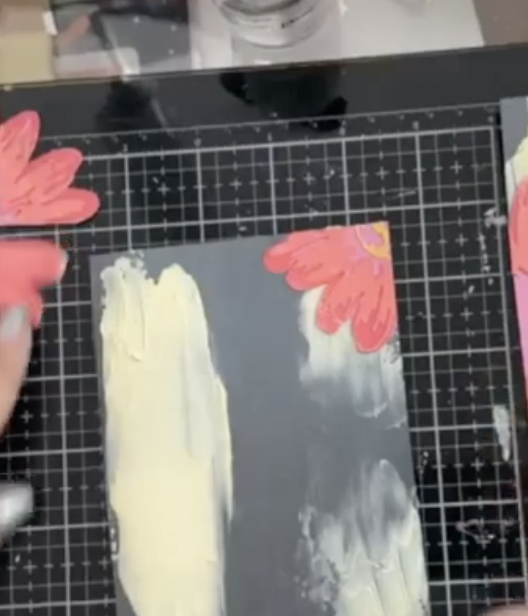
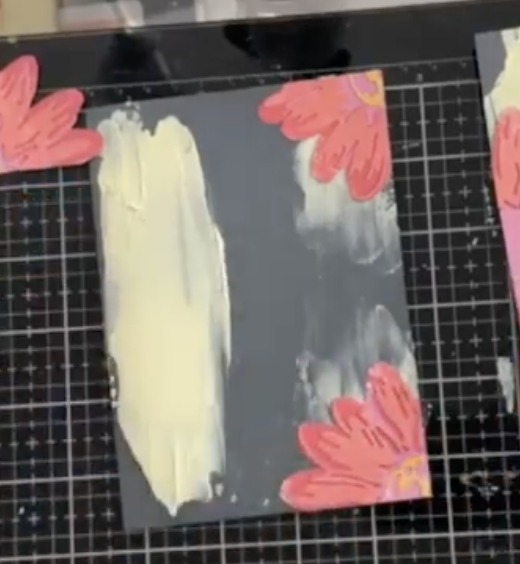
Now its time to adhere the flower pieces onto your card base (make sure your paint is dry). Attach the half piece over the full paint swipe and the two quarter piece in the opposite corners. Then add the word love.
Hope you enjoyed episode 2!
Supplies


Nina Boettcher
Owner at Creative Escape and Crafters Home
